I've done some work over the last few days, but I don't even remember everything.
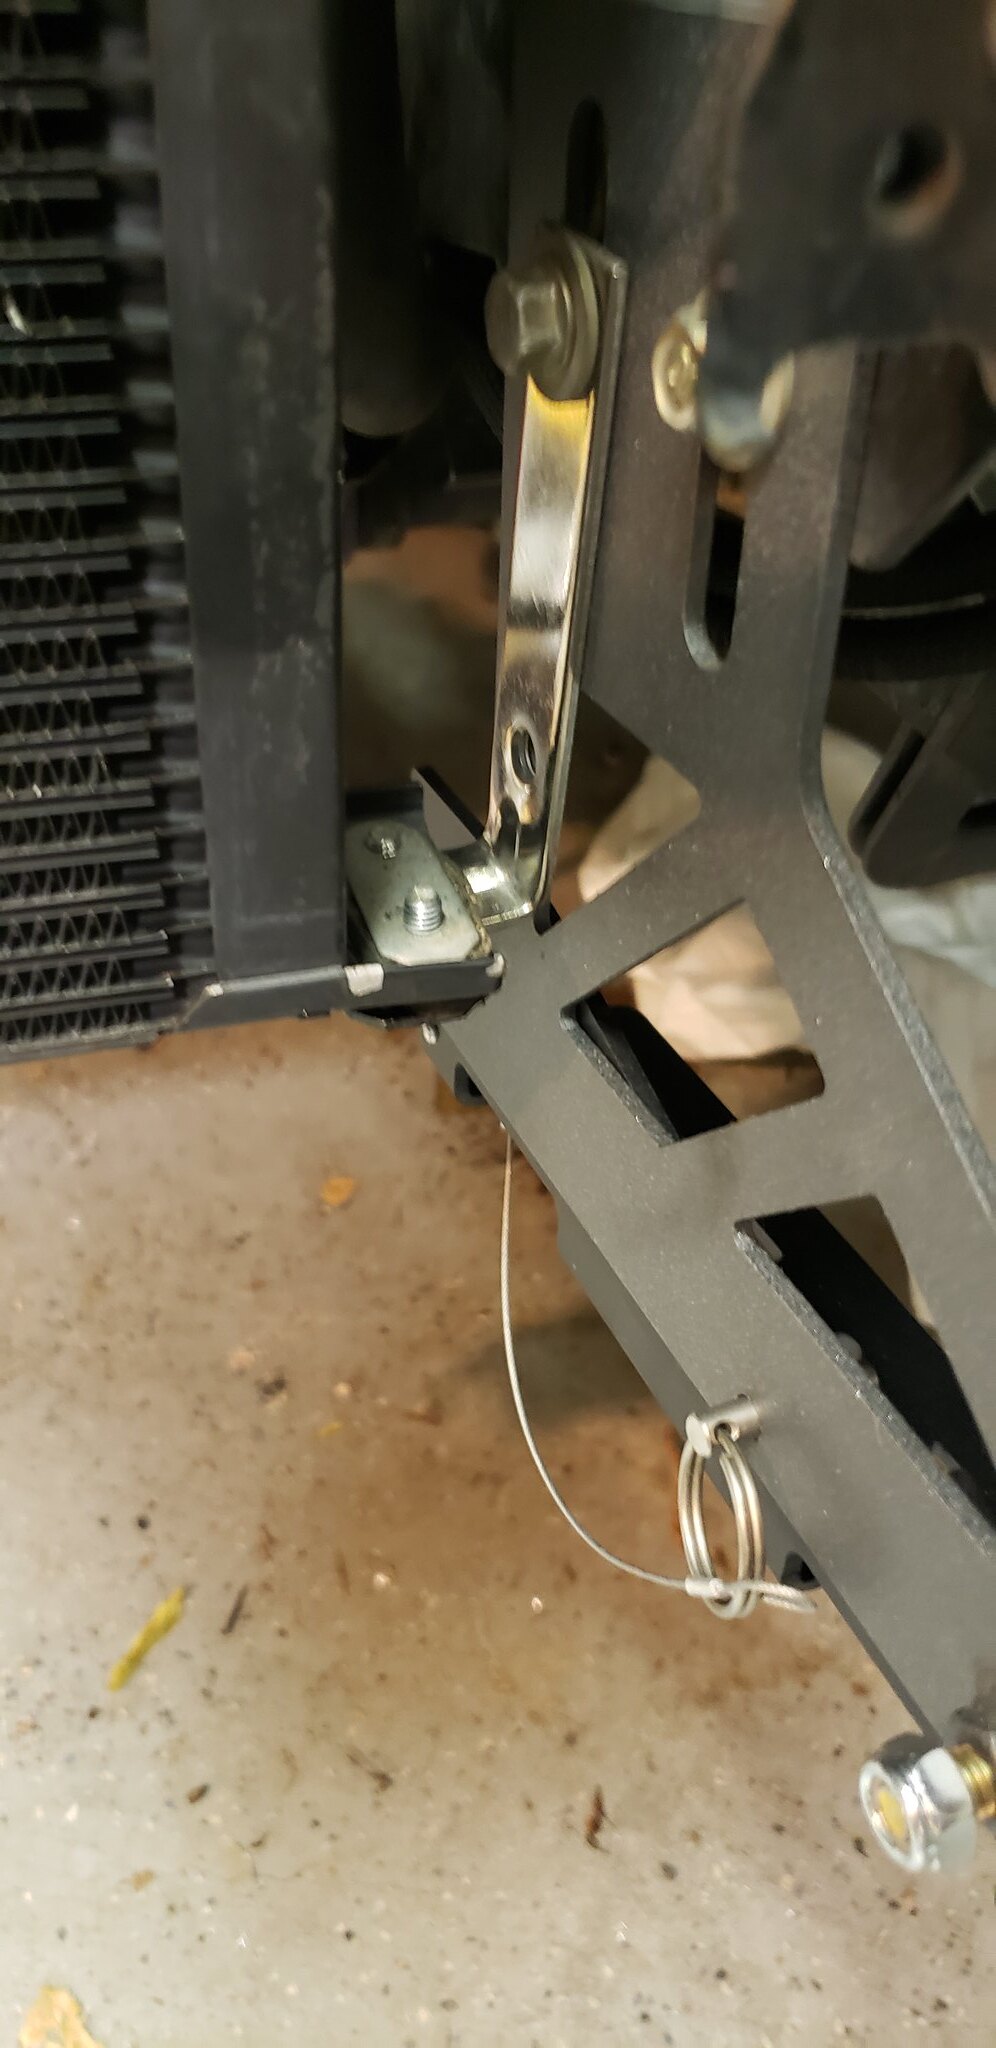
I got all stainless hardware to install the tow hooks and radiator mounts, and put anti-seize on them all. I had to get ARP bolts for the passenger side mount because no one local and even most places I looked online didn't have M10x1.25 in stainless. Ridiculous. lol Here is how the rear tow hook turned out.
 20220313_141232
 by
Eric Jausel, on Flickr
 20220313_141240
 by
Eric Jausel, on Flickr
I straightened all the bent fins on the new radiator and condenser and mounted the condenser to the radiator with stainless hardware, and got the radiator hoses sorted out. I was going to use either hard lines with couplers at each end, or do AN lines or hardlines with Wiggins clamps, but the hard lines with couplers adds another four hose clamps, and the AN lines and hardlines with Wiggins both require welding on fittings and a lot more money. So I decided to stick with hoses for the time being. I was able to reuse the upper hose, but the lower hose I had to replace because it was a completely different angle. The good thing is I started with the same exact hose for both top and bottom, Gates 21660. I was planning on using the stock rubber boots at the bottom of the radiator, but I cut the holes in the mounts too big so I picked up some high heat rated grommets that fit perfectly. There is a little bit of play between the grommet and the radiator posts, but I wanted that, and it fits the mounts perfectly. The only problem is they're red, but I can live with that, especially after I make ducting and you won't even be able to see them. I also got some seagull shaped mesh screen to protect the VMIC and oil coolers. I wasn't crazy about the idea of using mesh, but I'm tired of the radiator and stuff being gunked with bugs and getting bent by rocks. I like this design better than regular mesh too, and it won't keep everything out but hopefully it will help and not kill too much airflow.
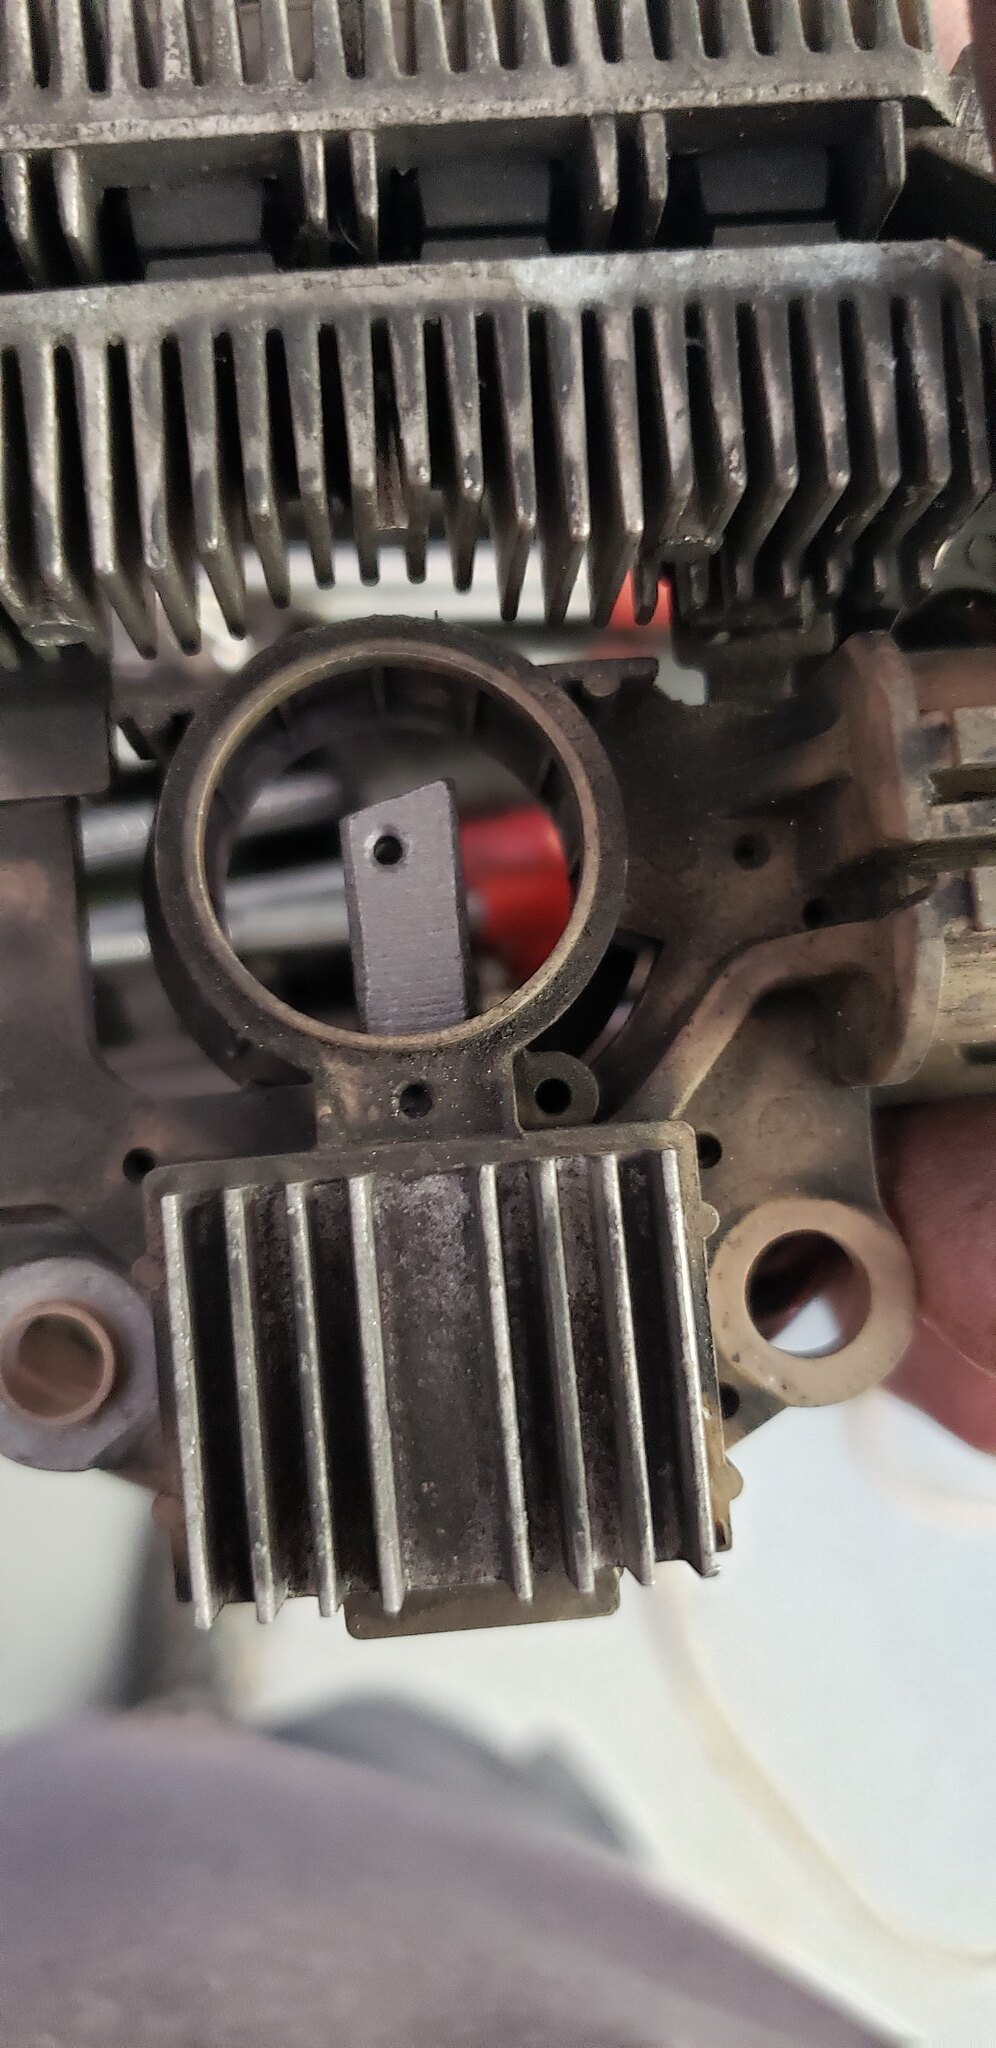
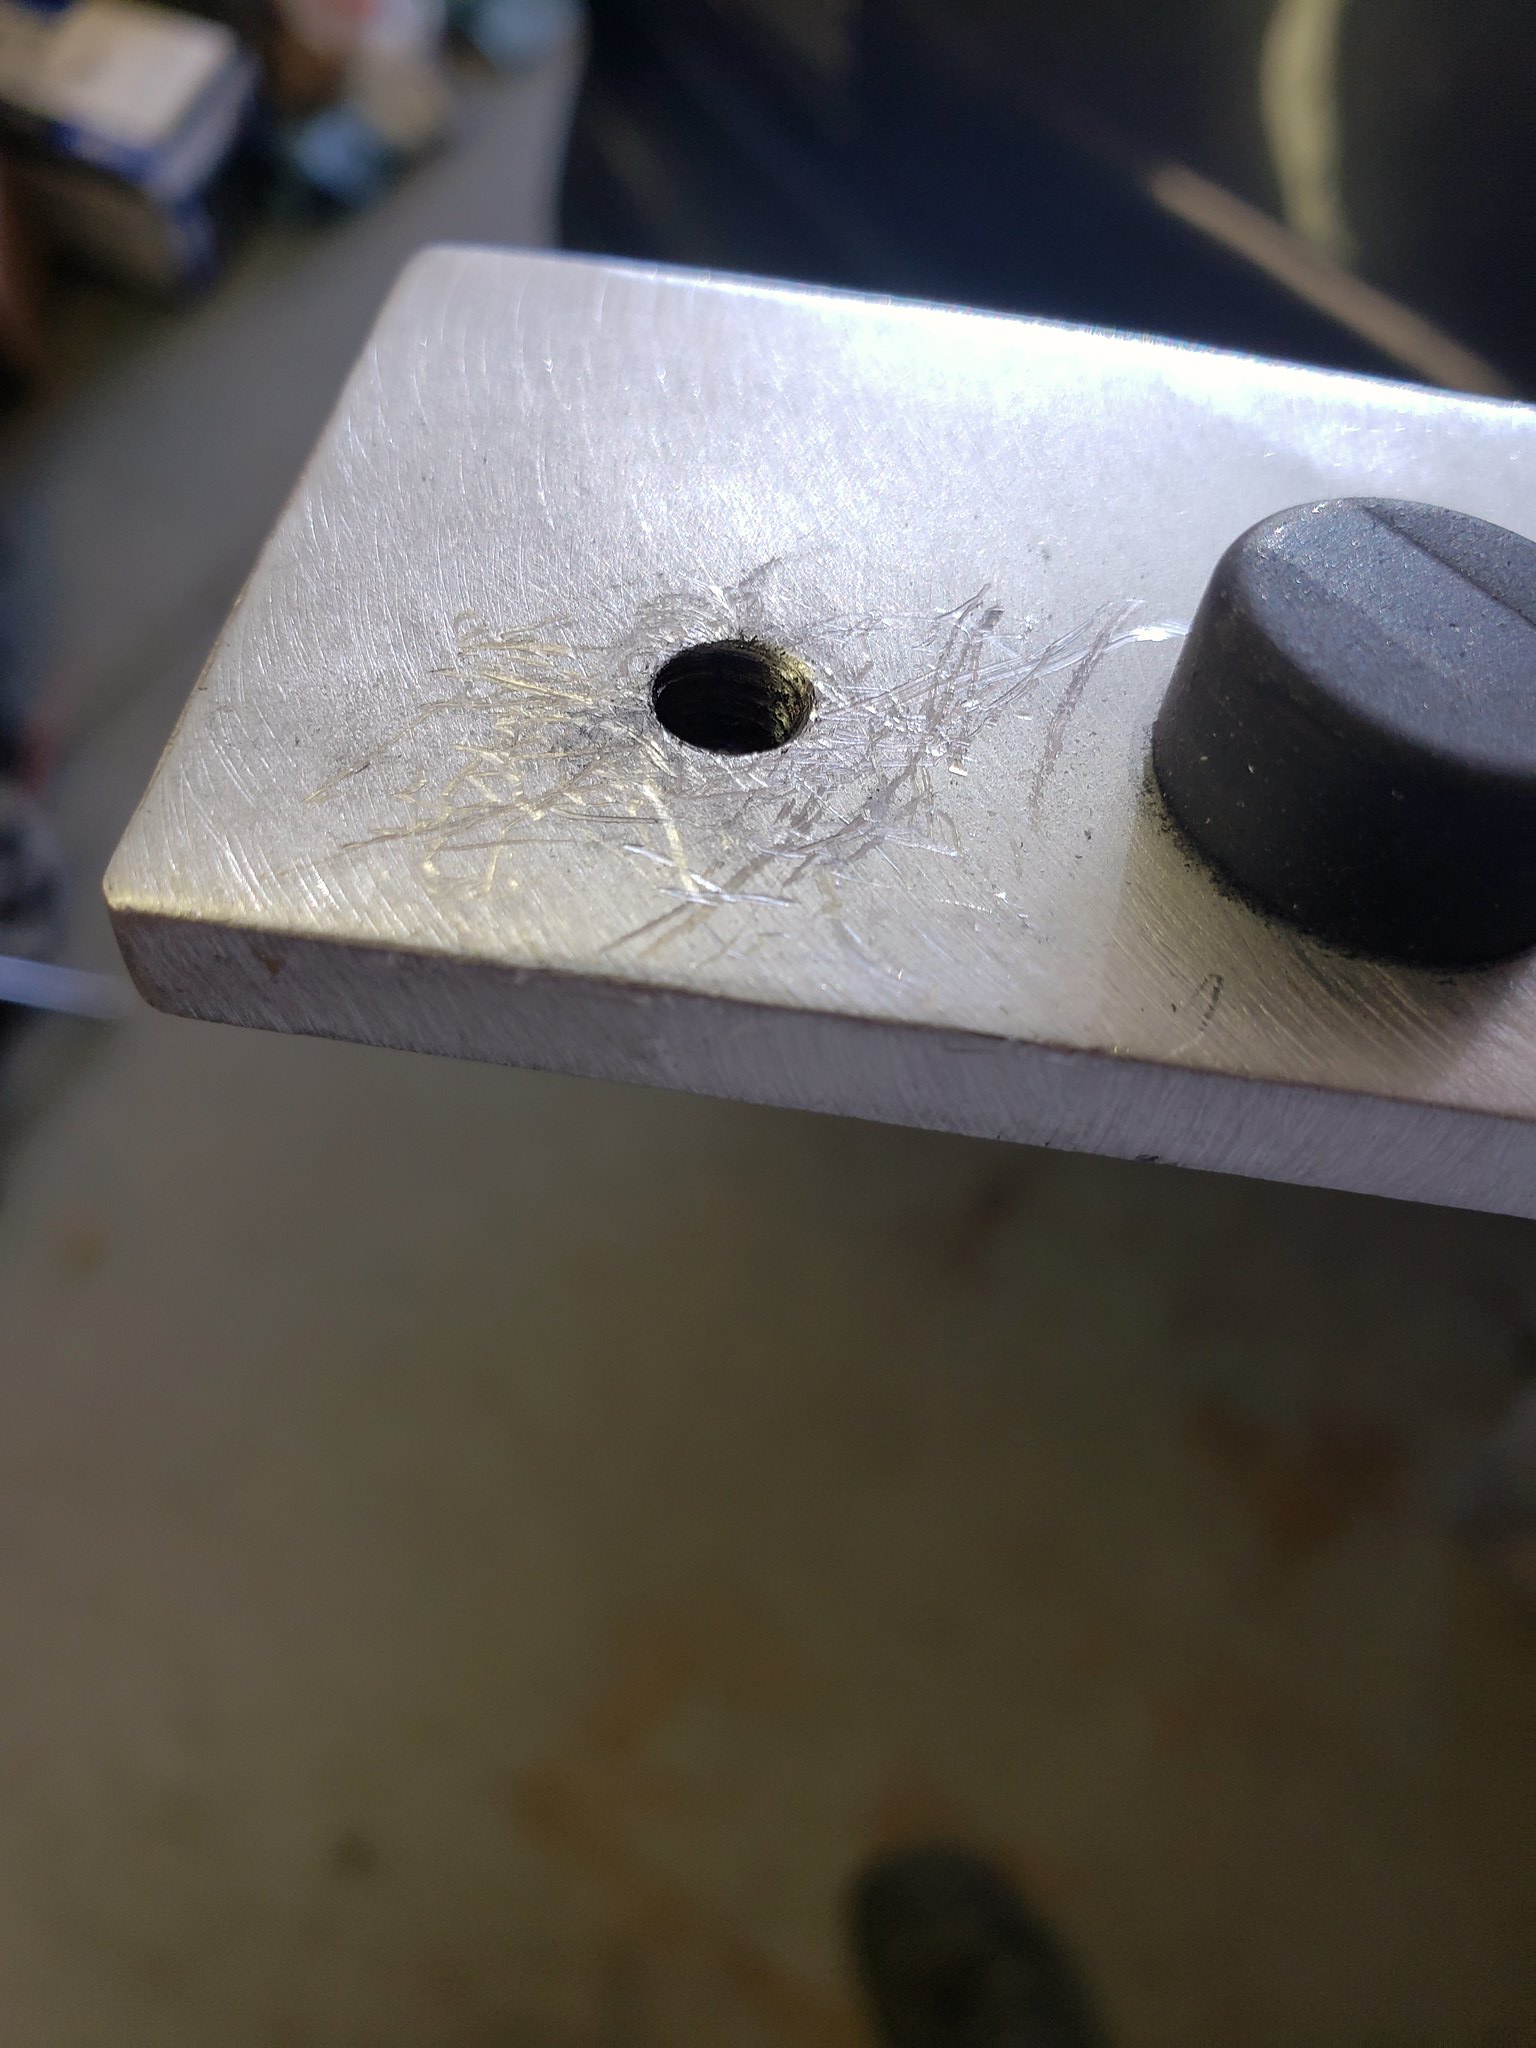
https://www.amazon.com/gp/product/B08T8 ... UTF8&psc=1I pulled the ECU and sent it off to Chris to bench test. I was a little concerned about bricking the other guy's ECU if I had issues with my wiring. Chris said he wasn't concerned about that but that he could bench test mine. I added studs to the ECU mount to make it a lot easier installing, but I forgot that the end of the stud comes so close to the bottom of the HVAC blower and I'm not sure if I can get the ECU onto a stud, which is why I didn't put studs in last time. But this pic indicates why I wanted to add the studs lol.
 2022-03-16_10-24-37
 by
Eric Jausel, on Flickr
 20220313_150203
 by
Eric Jausel, on Flickr
I put the swages on the seat rails to lock the wire for the linkage and started to cut the supports I'm going to have welded onto the back. They'll run down each side of the seat and turn under (a piece welded on) to lay on top of and bolt to the rear bolt hole on the rail. This should sufficiently stiffen the seat so it doesn't lean in turns, at least not more than the rails do themselves. After that, all I need to do is heat up the Kydex to form over the leg bolsters to protect the seat cover and install the seats one last time. I don't even want to think about how much money I've spent on these seats to make them work for me, and wonder if I could have gotten away with getting some Recaro SPGs that may have worked for me for cheaper. Ugh. I'm also going to use eye bolts to connect the braces to the rails, that way I can hook the 5th and 6th harness straps to them. Probably not the most solid idea, but I figure with as low as I'm sitting in the seat and with the angle of the seat already, there shouldn't be enough pressure from my body to faze these keeping me from submarining in an accident.
I was thinking about getting the valving changed on my coilovers since I'm using springs outside the acceptable range for the current valving. Granted it's only 1kg out of range on the rear, but I figured it could help. I talked to SakeBomb Garage today about it and they said I'd need a whole different set of shock bodies if I want to use anything less than 10kg, and that kit is almost $4k. So yeah, I'll just add some preload to the springs and stick with what I have lol. Maybe I'll step up in several years when these are worn out, but I'm certainly not dropping that kind of money right now. And if I'm going to spend that much, I want individual adjustment with external reservoirs, the works.
The RE Amemiya power steering tank SHOULD be getting shipped tomorrow, but I won't hold my breath. They don't have any other updates though, so I'm hoping it's legit. I'm going to clean the replacement AC compressor and reinstall it in the mean time, and I'll just take the car to my buddy's shop and have them charge it and check for leaks and all that. I'm done trying the home brew lol.
I was able to get a replacement fuse box since I broke the mount on mine. Well, it was paid for a shipped today, hopefully it wasn't a scam, but I didn't have any funny feelings about it. Ran me $80 shipped from California, which I think is a decent deal since it's just about impossible to find those boxes separate from the harness. But this time I'm going to make sure this thing is mounted really solid, with more than one point of contact. Not sure if I'm going to 3D print the bracket or make one out of steel.
I saw a post last night about installing an ABS system from a BMW into the FD and it looks intriguing. I might actually do this someday if I can do it cleanly lol.
https://www.rx7club.com/3rd-generation- ... d-1156049/
 2022-03-06_11-43-19 by Eric Jausel, on Flickr
 20220305_230224 by Eric Jausel, on Flickr
 20220305_225630 by Eric Jausel, on Flickr
 20220305_224705 by Eric Jausel, on Flickr
 20220305_224718 by Eric Jausel, on Flickr
 20220305_224729 by Eric Jausel, on Flickr
 20220305_224945 by Eric Jausel, on Flickr
 20220305_224950 by Eric Jausel, on Flickr