(Forgive me for my dirty car. I was Transporting Chiuauas to my brothers house the other day. And I had to empty the bins of all the junk to do the DIY.)
<div align='center'>Part One - Getting Started</div>
1) The first and most important step....read this very carefully.....you MUST have an RX-8.
")
2) Get in your 8. (All my pic were taken from passanger side of the vehicle)
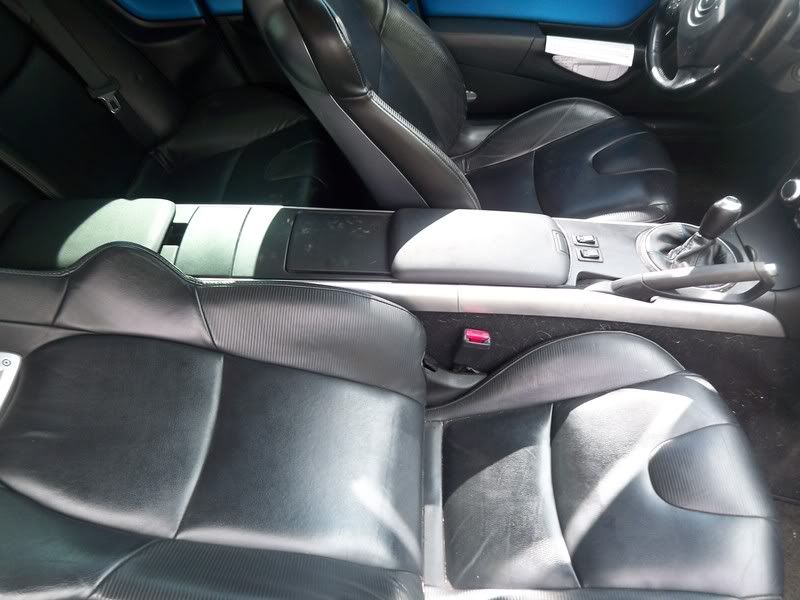
3) Best place to start is the front.
4) Time to get serious and make this DIY.
<div align='center'>Part Two - Taking Apart the Front Console Area</div>
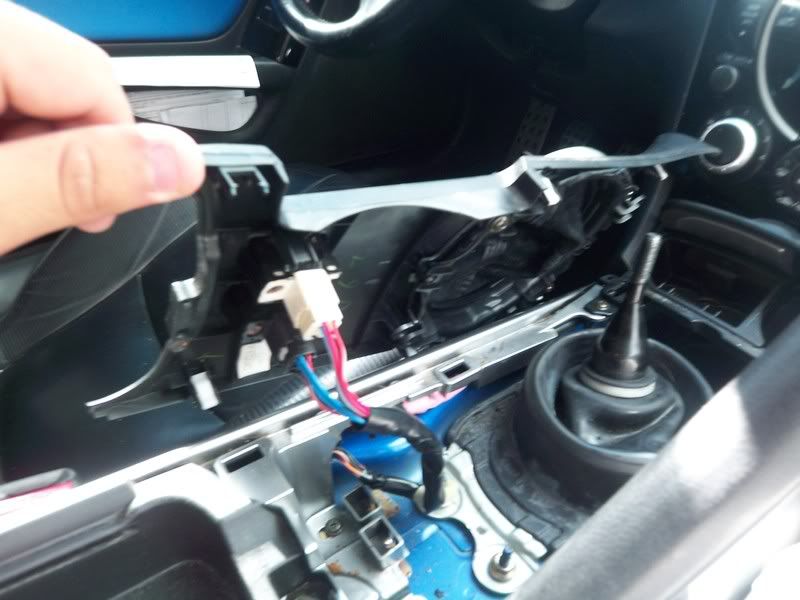
1) The first thing you want to do is unscrew the shift knob. You should have this.
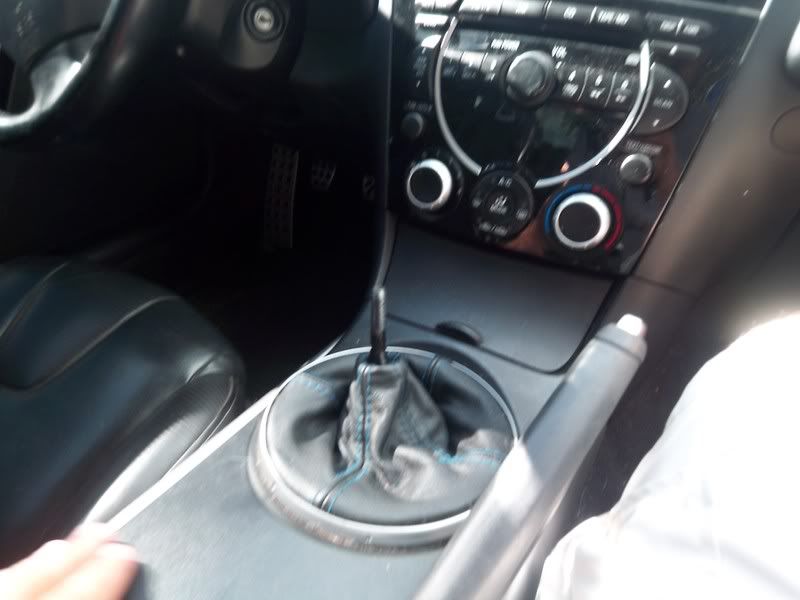
2) Now what you need to do is make sure your E-Brake is down and stick your finger in the end of it to push the little door on the side of the cup holder out. This Makes it easier to lift up the shift boot cover area.
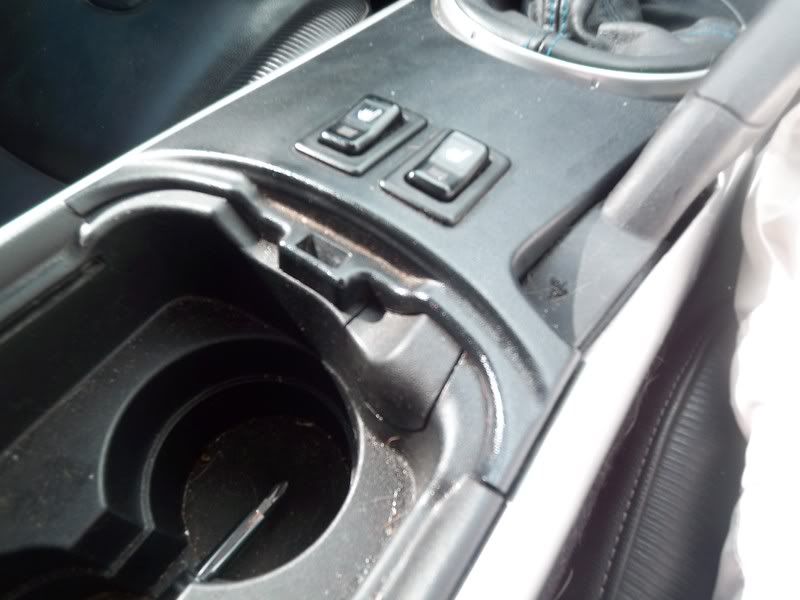
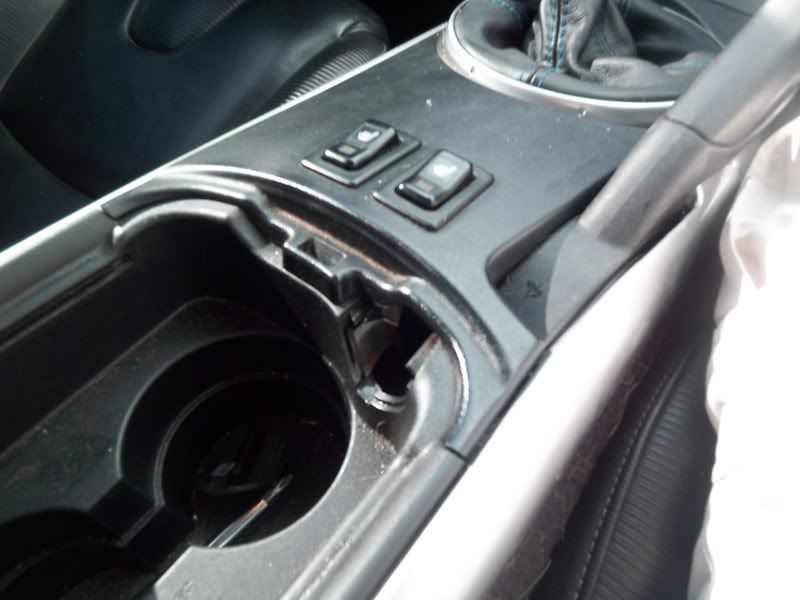
3) Once the door is out just put a finger in it and lift. The area around the shifter should unsnap and lift out.
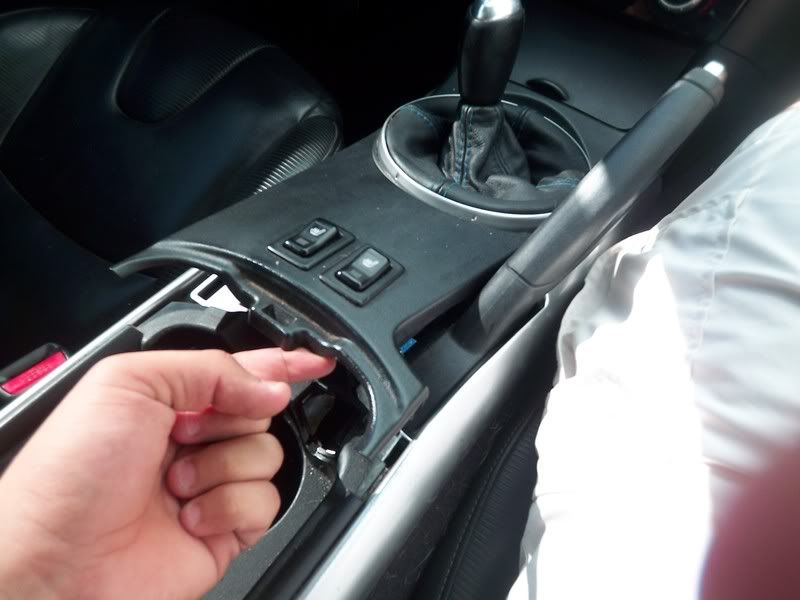
4) (For cars with seat warmers and or NAV) Once the cover is up there are 2 or more clips that you need to unclip. Do that and set the peice aside.
<div align='center'>Part 3 - Finding the Screws and Removing the Large Center Section</div>
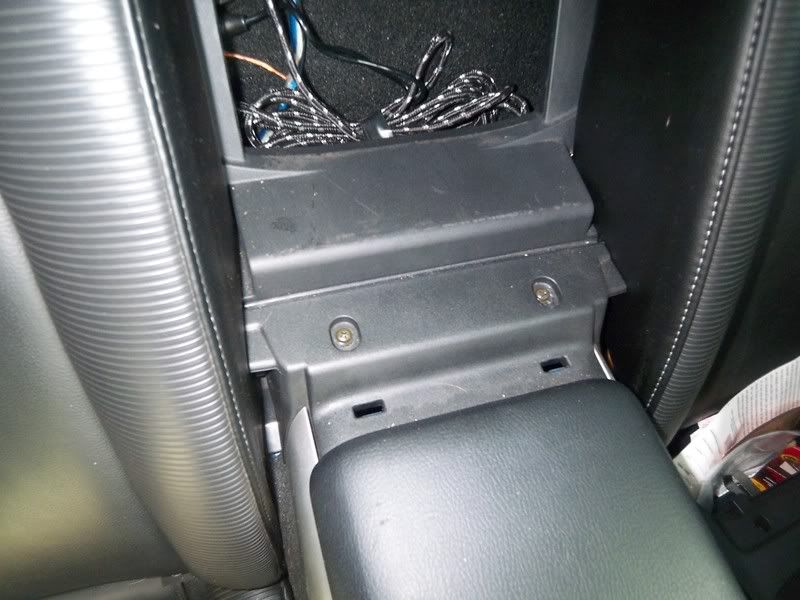
1) The first set of screws are right under the cover you just pulled off. There are a total of 5 there.
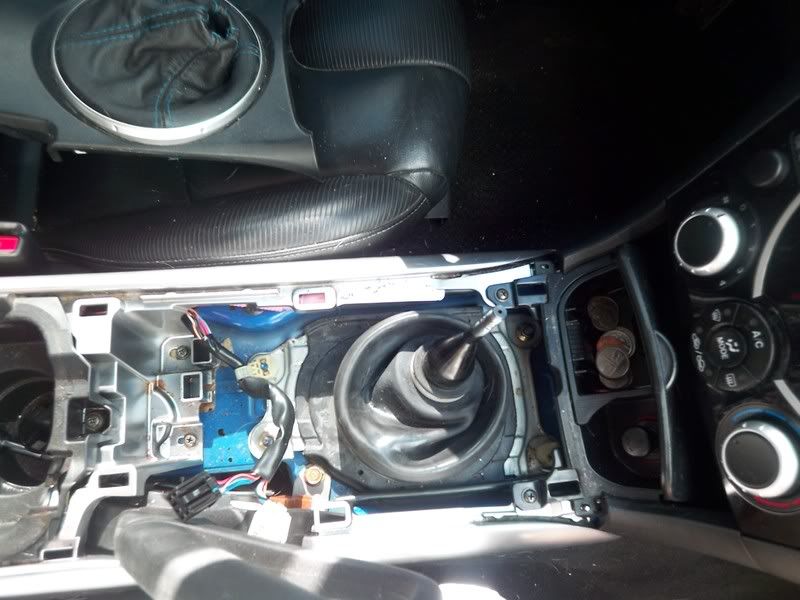
2) The next 1 is in the bin between the front seats. All you have to do is lift up on the felt peice on the bottom and there it is.

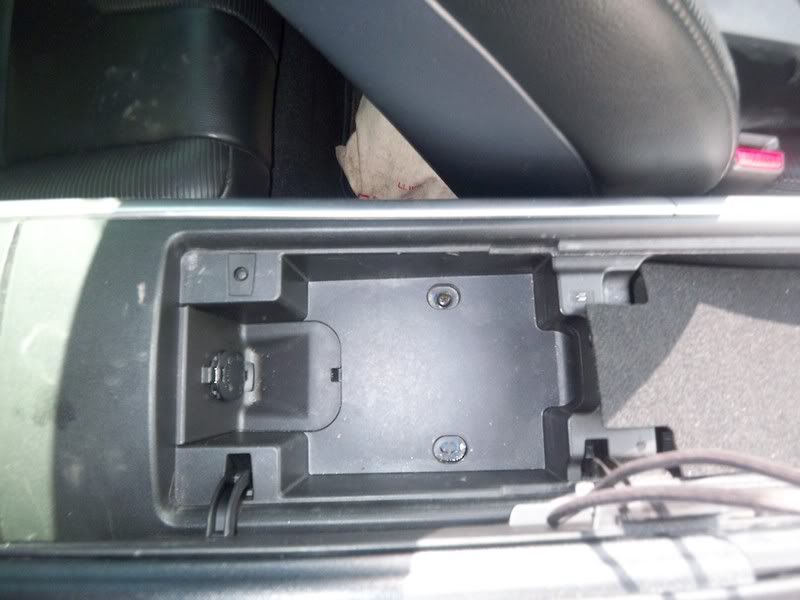
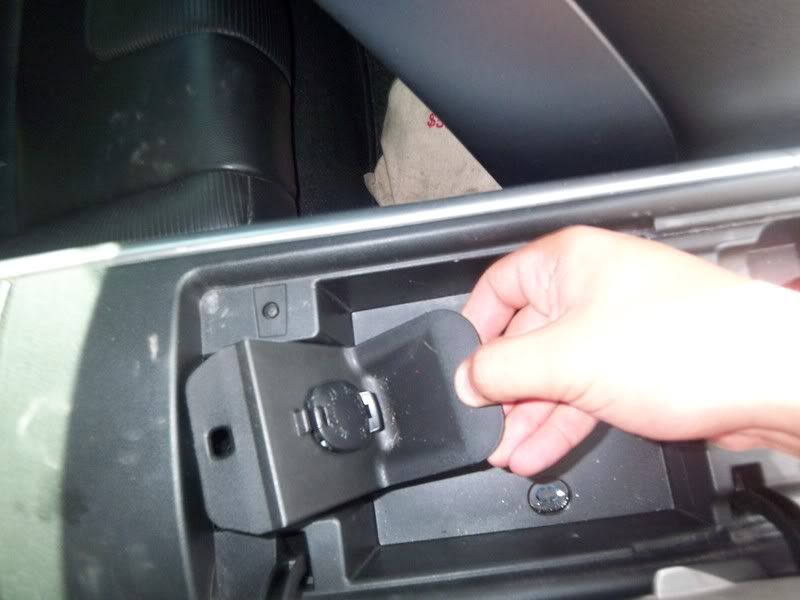
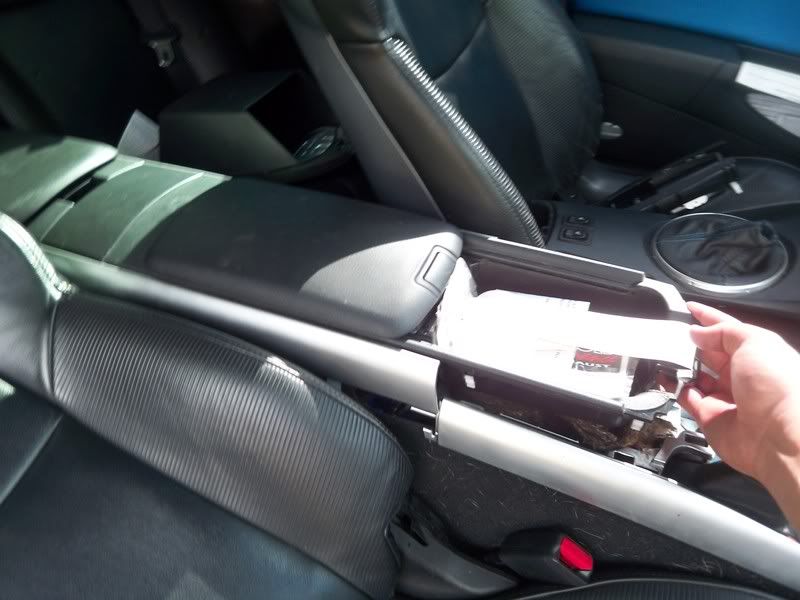
4)While you are still infron and in the front bi go ahead and pull out the Cig lighter plug. To do this just stick a screw driver in the opening at the bottom of the bin and pull up and unclip it.
5) The next 2 srews are in the rear bin. Same thing as above, remove the felt and there they are.
6) 2 more scres remail to take apart the large rear section of the console. These are under the door between the two rear back seats that leads to the trunk. Remove the door and there they are.
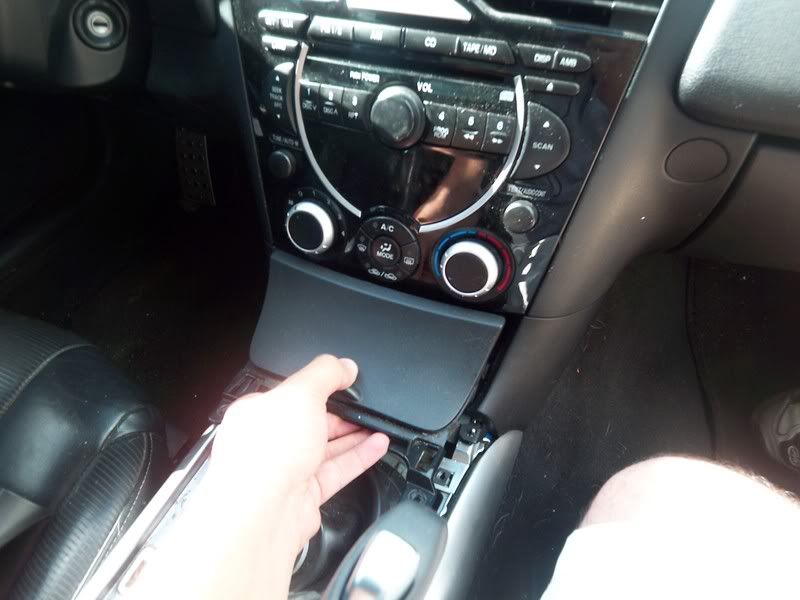
7) Now all you have to do is lift up. Go back to the front where you removed the first 5 screws. What you want to do is lift up where the single lone screw was. This was right in front of the front cupholder.
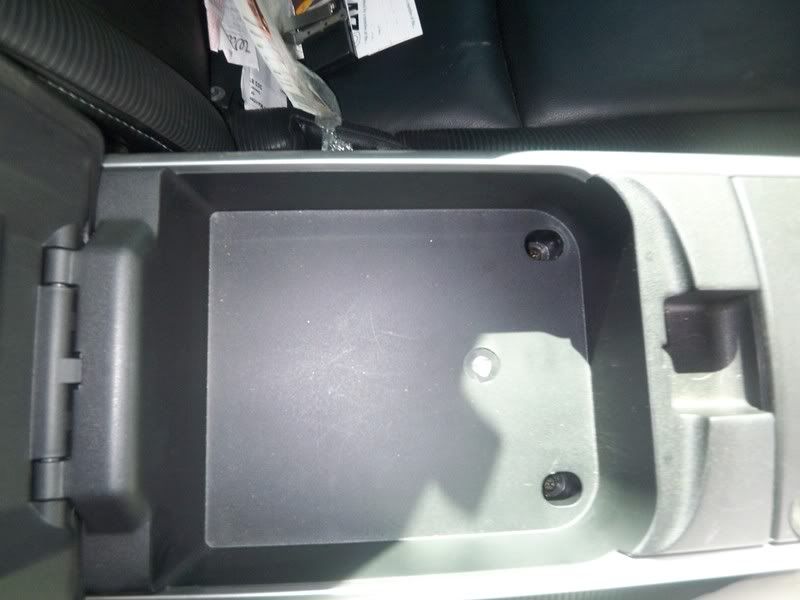
Part 4 - Removing the Ashtray and Front Console Trim
1) These next steps will go quick. First thing is take the ashtray out. Just simply stick your hand there and pull out and slightly up.
2) There are 2 clips and one light that you will need to remove that are attatched the the ashtray assembly.
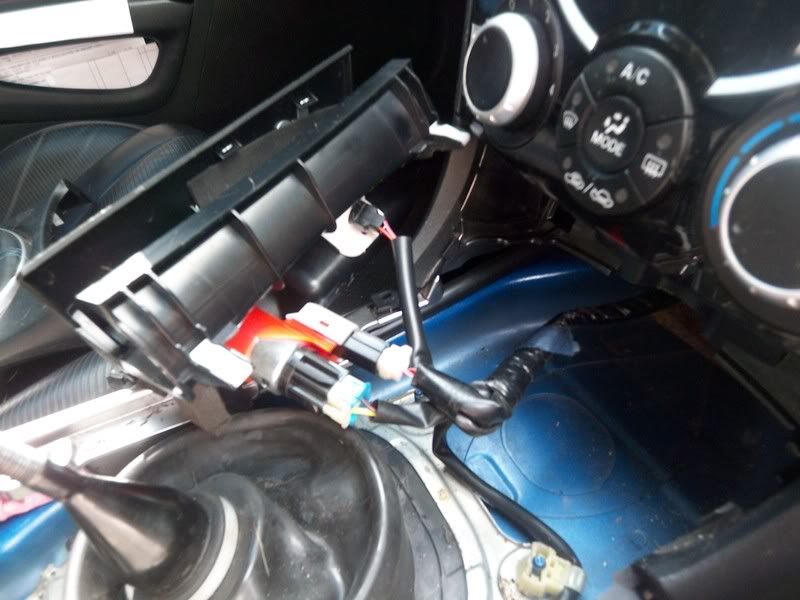
3) The final 2 scerws are under the ashtray. There are 4 there but only the 2 outer ones need to be removed.
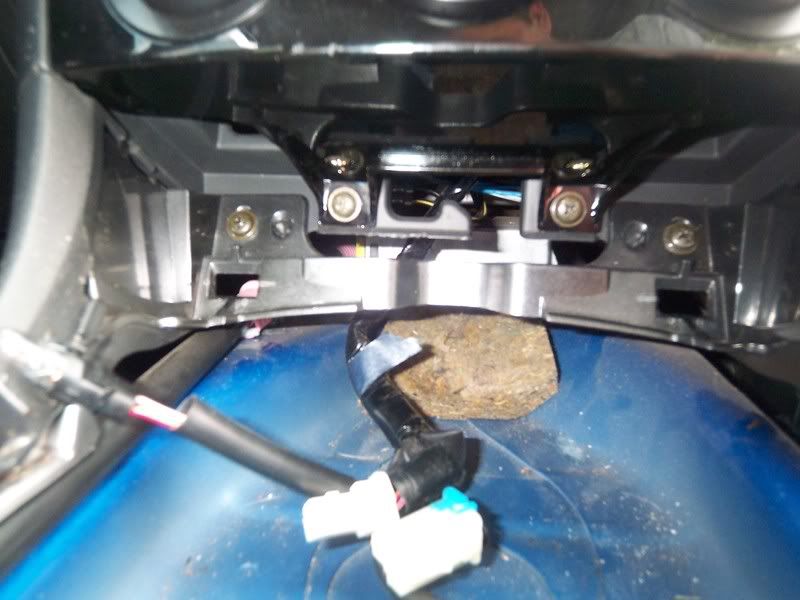
4) All that is left is to pull straight bakc and up. The silver trim and the black ends nearr the floor all come out

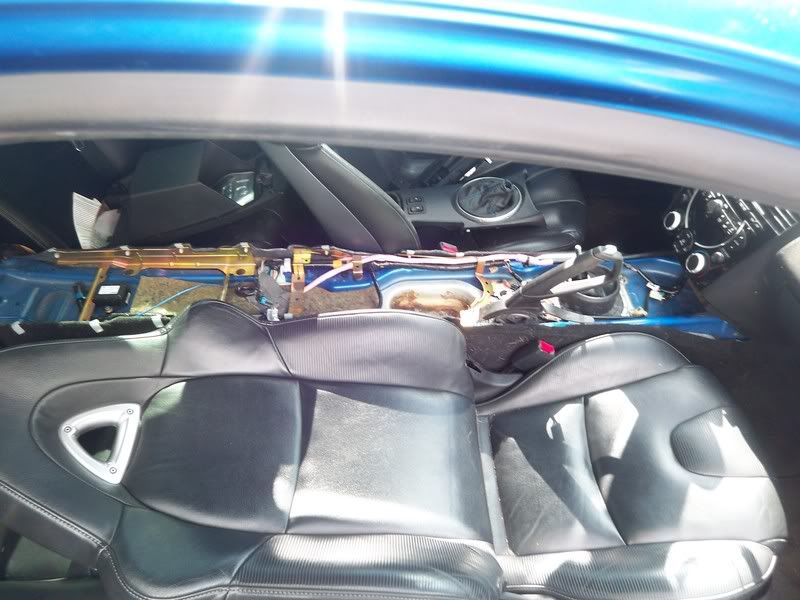
5) What you are left with.
Part 5 - Removing the Silver Trim from the Cup Holders
1) Simple just flip it over an take out all the screws holding it to the cup holders. Duh. Same thing for the front trim peice.
THE END
</div>