Air intake box

The How-To Forum
User avatar
speedjunkie
Senior Member
Posts: 5290
Joined: Wed Jan 02, 2008 9:14
Location: Colorado Springs
Contact:

Air intake box

Postby speedjunkie » Wed Dec 30, 2009 9:14

Some of the Colorado Springs folks already know about this, and some thought it was kinda ridiculous. Well, it is, but I decided to do it none-the-less. It's fairly cheap too. I decided to do this for two reasons...

1. I love homemade stuff. I would much rather make something for the car than buy it off the shelf. I also love products that others on the forums make, things like air pump deletion idler pullies (which I also have), etc.

2. I figured instead of a coffee can exhaust, I could have a coffee can intake haha.

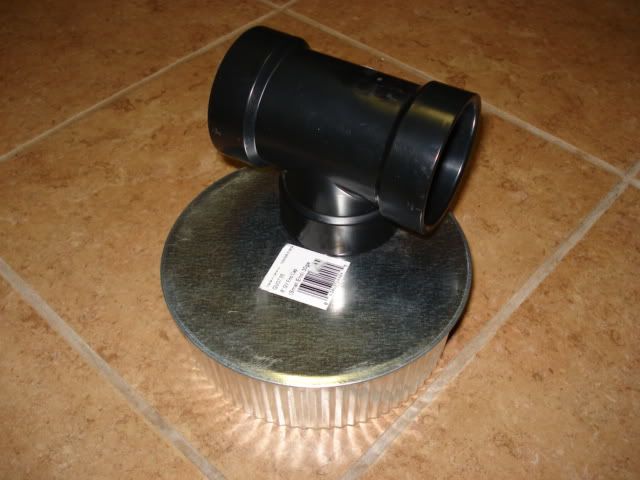
So I started with a 39oz Hills Brothers Original Blend coffee can. I also got a 6" metal end cap, a 2" plastic T fitting, an adapter (to serve as the backing to attach it to the end cap), a flush valve shank washer (to use between the adapter and end cap) but I ended up not using that.

This is the first set of things I bought at ACE Hardware (except for the coffee of course)...
Image

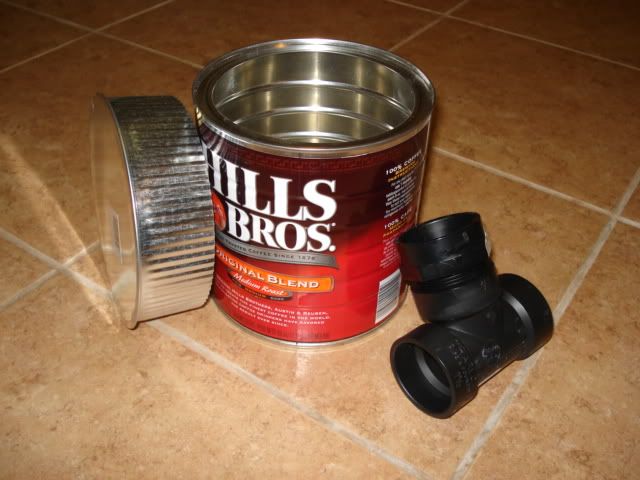
...but I had to go to Lowe's and get a different size T fitting so I could attach the ducting. The first one I got was 1.5", the second one is 2".
Image

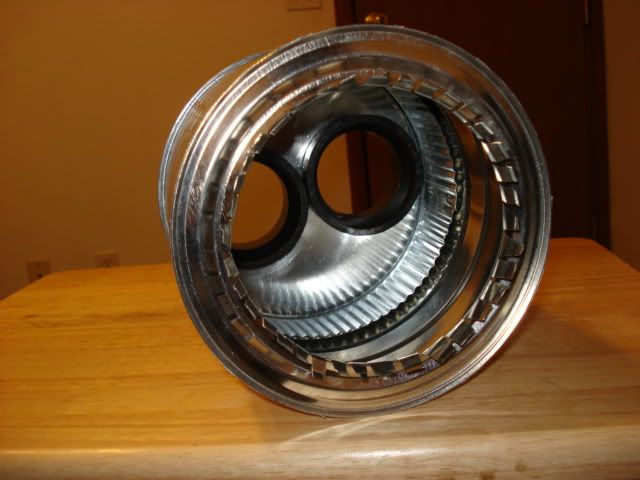
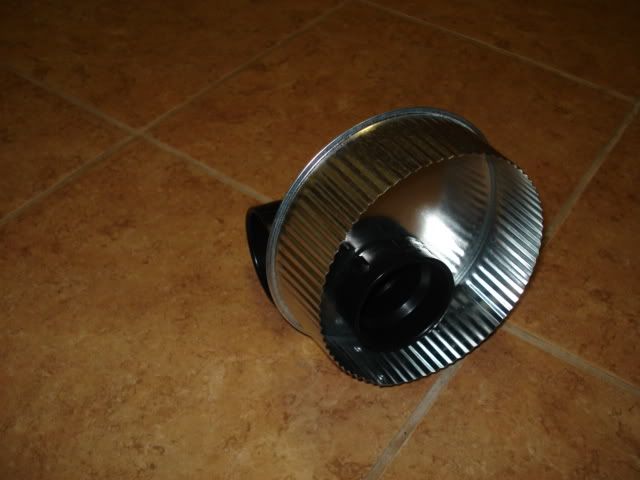
I started by cutting the bottom of the coffee can, to make the hole for the filter to slide through...
Image

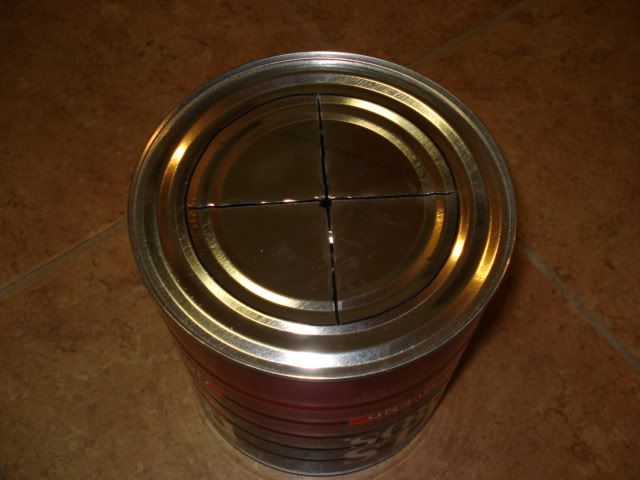
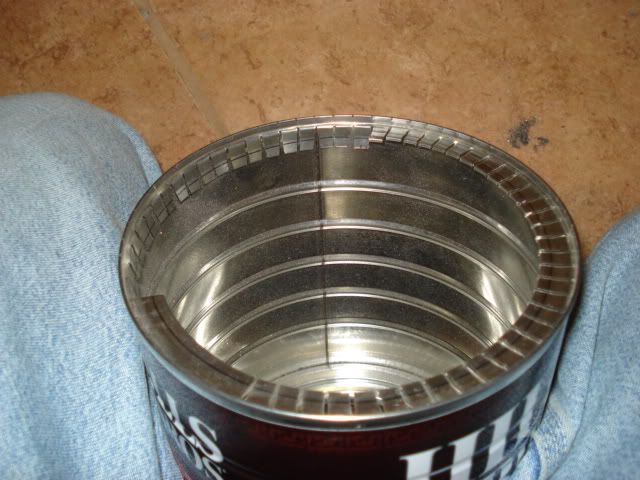
I left the little tabs so that I could tighten the clamp around them to make sure the can stayed upright and didn't sag...
Image

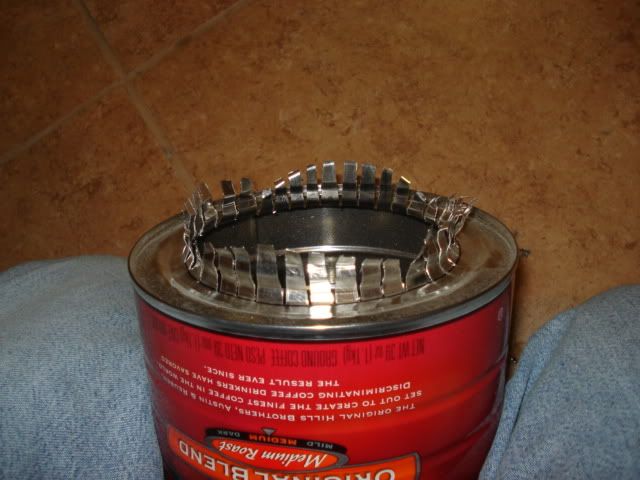
And I had to cut the top of the can to get the filter inside, and to be able to slide the end cap in when it came time...
Image

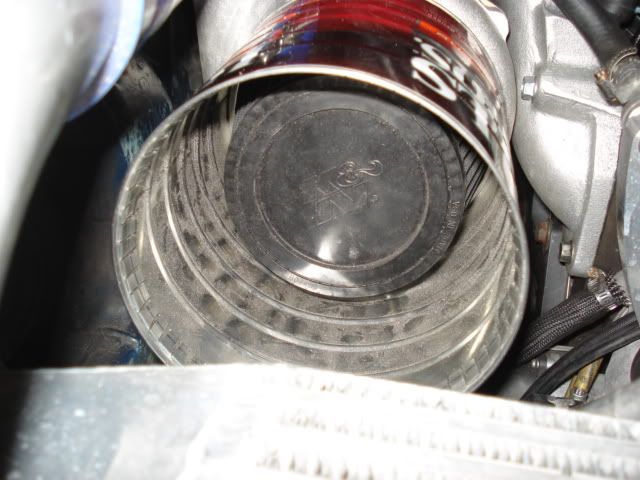
Then I did a test fit on the turbo, not too bad.
Image
Image

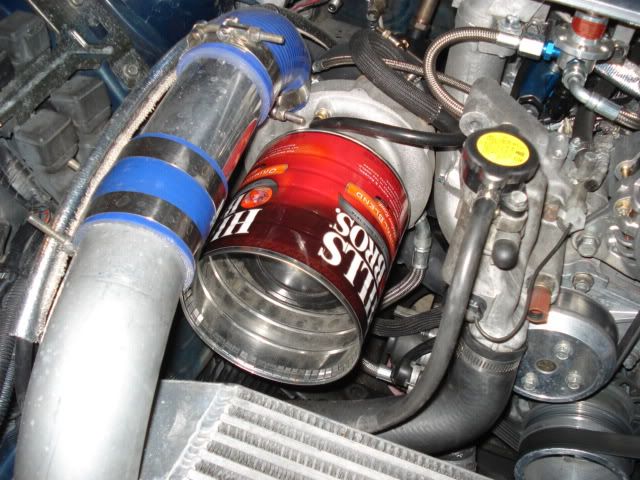
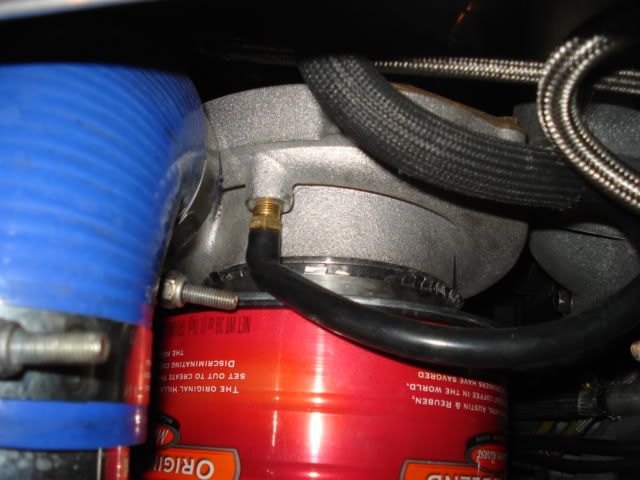
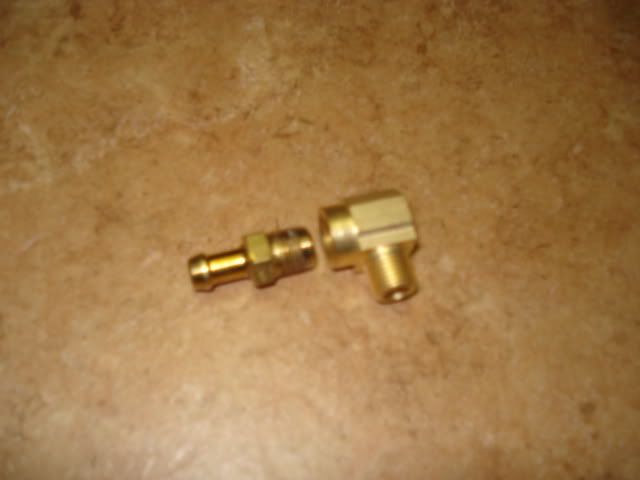
Because the vacuum line coming off my turbo was kinked due to the coffee can, I got an elbow fitting while I was at Lowe's.
Image
Image

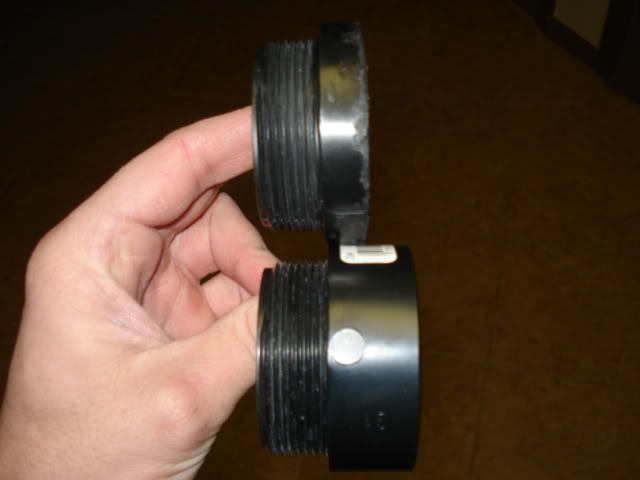
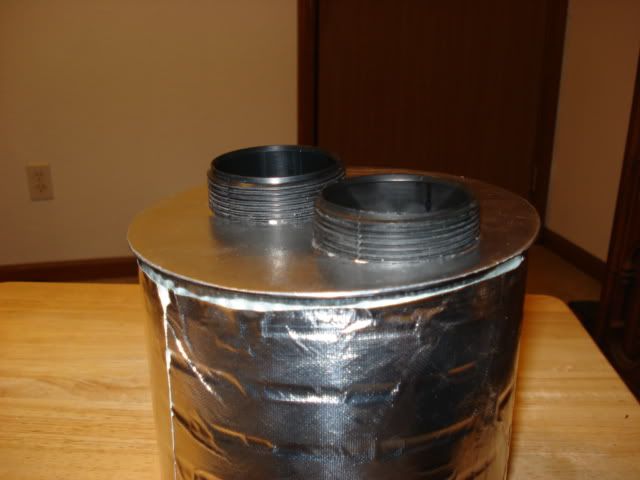
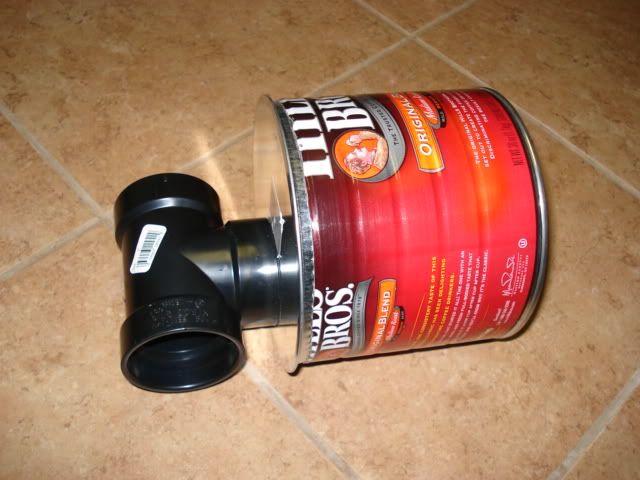
Then I started on the end cap assembly. First I cut a hole to slide the adapter through and attach the T fitting. I was going to put it right in the middle of the end cap, but I figured if I offset it, it would clear the filter more and let air flow better.
Image
Image

Due to the VMIC, it is a tight fit for the can with the end cap and T fitting installed, so I had to cut the can down a bit.
Image
Image

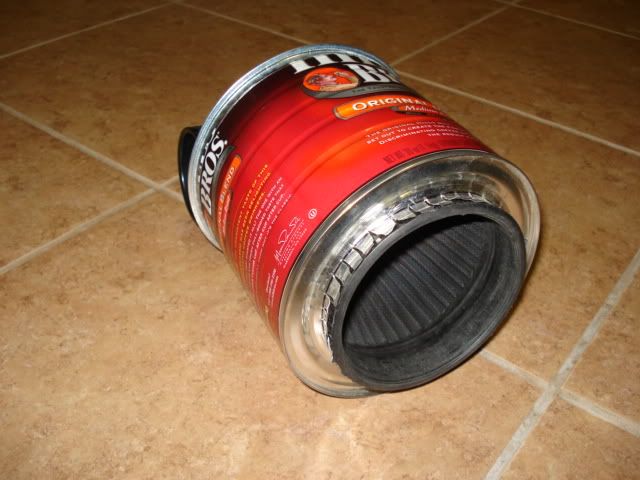
I think it the can will need to be cut down a bit more, and I also cut a little off the back of the adapter so it won't hit the filter. I wish I could cut the T fitting down some, and I might try that, but I'm afraid it will mess up the threads and make it unusable. Tomorrow I will clean it all up and do a proper test fit onto the turbo. When I'm happy with it all, I'm going to cover it with heat shielding to keep it as cold as possible inside.

Info for the parts I'm using are...

Parts bought at Lowe's

2" plastic T-fitting
bar code 39923 20942
C5814
$6.25

2" plastic adapter
bar code 39923 19472
C5804
$1.33

(if you need it)
elbow fitting
bar code 48643 07203
Watts A-712
1/8" MIP x 1/8" FIP
$2.64

Parts bought at ACE Hardware

6" GV End Cap
bar code 63467 14404
GV0735
$7.99

The heat shielding is a DEI 12" x 24" piece I bought from Advance Auto Parts for about $20, but I might try to use something that doesn't have an adhesive backing so I can remove it easily if need be.

Oh, and the filter I have is a K&N RU-2510.

User avatar
RX-7 Chris
Posts: 7800
Joined: Tue Oct 02, 2007 9:14
Location: Colorado Springs
Contact:

Postby RX-7 Chris » Wed Dec 30, 2009 9:14

LOL I got your text on this. Funny stuff, hope it works.
1984 RX-7 GSL-SE [size=84]My restomod project[/SIZE]


1964 Ford Galaxie 500XL flat black w/ white interior, 2 dr fastback, 390 thunderbird, C6 auto, 2500 rpm high stall converter, shift kit, AC, Holley 750 cfm

[size=100]RIP 1983 RX-7[/SIZE]

My Car Blog

User avatar
speedjunkie
Senior Member
Posts: 5290
Joined: Wed Jan 02, 2008 9:14
Location: Colorado Springs
Contact:

Postby speedjunkie » Wed Dec 30, 2009 9:14

Thanks, me too haha. I actually laughed for about 5 minutes straight after I did the test fit and saw it on the turbo, just because it's so ridiculous haha.
Image

User avatar
Stealth01
Senior Member
Posts: 2881
Joined: Fri Sep 21, 2007 9:14
Location: In the 7-1-9
Contact:

Postby Stealth01 » Wed Dec 30, 2009 9:14

You need to post this on thereifixedit.com. :)
Stealth01
2006 Mazdaspeed 6 GT
SURE Full3 Aeros ID300 SRI, SURE Torq R6 RMM, SURE Shortcut/Countershift, SURE Anchors, Dunlop Winterspot M3s (Winter Shoes), "O" Series Stubby Antenna, Red LED Dome & Door Lights, Whistler Pro-78 RD Hardwired, SURE Dreadnaught, Juggernaught, SURE Flow M6 TP, SURE Charge Tubes, Hawk HPS F/R Pads, Technafit SSBLs, StopTech Rotors, Cobb AP, SURE Ventus in 50-50 Hybrid Mode, [color="Lime"] PERM Tune[/color] (Stratified Auto) Coming soon: Autotech FP Internals, S6 Mounts

User avatar
speedjunkie
Senior Member
Posts: 5290
Joined: Wed Jan 02, 2008 9:14
Location: Colorado Springs
Contact:

Postby speedjunkie » Wed Dec 30, 2009 9:14

^Somehow I get the feeling you're trying to set me up. LOL
Image

User avatar
speedjunkie
Senior Member
Posts: 5290
Joined: Wed Jan 02, 2008 9:14
Location: Colorado Springs
Contact:

Postby speedjunkie » Thu Dec 31, 2009 9:14

After some feedback on Rotary Car Club got me thinking about restriction, I decided to give each duct it's own opening. I used two adapters (like I was using to attach the T fitting) and trimmed them down a bit to make more room for the filter. The pic is of a regular one and one that I trimmed down.

Image

I also realized today that the T fitting openings weren't actually 2", they were closer to 3". The threads on the adapter are close to 2.5" so I left them installed threads out and I ordered 12 feet of 2.5" diameter ducting. I believe tightening the ducting down on the threads will help it stay on as well.

I put on the heat shielding too, but it was a pain in the ass since like a dumbass I measured and cut it first instead of putting it on THEN trimming off the extra haha. I also put some on the cover since I had enough leftover. I might put on a second layer of shielding since the first layer is kinda jacked and also because you can still tell it's a coffee can haha.

Image
Image

I also discovered that I have enough space on the sides of the VMIC/radiator to put the ducting ends through there on both sides, so I may not do a headlight swap now. The only thing I'm curious about is if using that area as an intake for the turbo will take too much air/pressure away from the VMIC/radiator.
Image


Return to “DIY”

Who is online

Users browsing this forum: No registered users and 21 guests