HOW TO: Kia Sportage Gears in 84-85 Rear w/ LSD!
Posted: Wed Dec 07, 2011 9:14
Well i have seen very few detailed threads on the Kia Sportage Gear change. Many folks haven't even really seen the inner workings of their differential. For someone who is tackling the project for the first time, it can be a little overwhelming. But this thread should give you a good in indication of what you need to go. For those not in the know, the Kia Sportage 4x4 models contain a 4.78 gear ratio for their final drive. Just so happens that the front differential is the same size as the FB, miata, s2000 and some other models. Best part is, use first gen RX-7 folks can directly bolt the 3rd member in place of our existing on on the 84-85 big bearing axles. It is an open type differential though so generally swapping an LSD unit is a good idea.
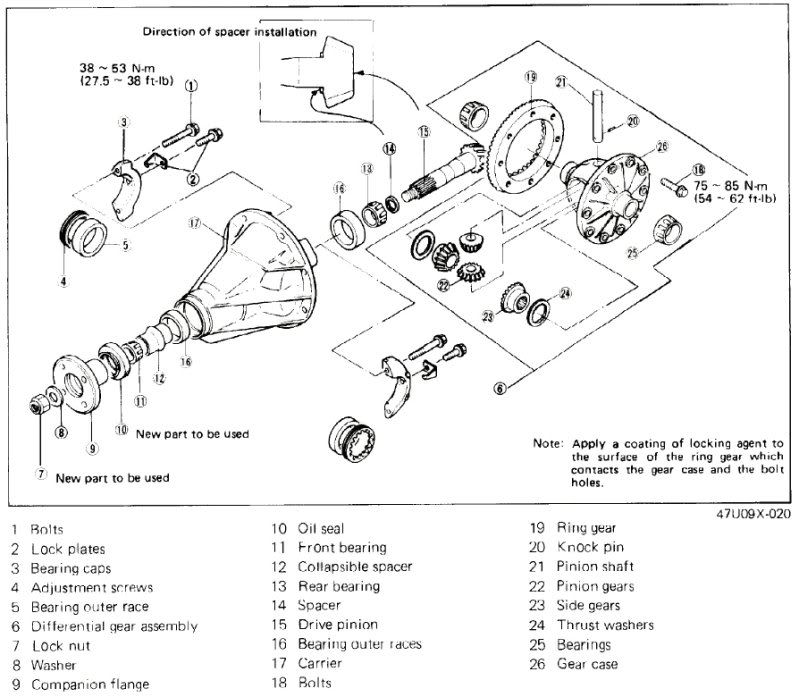
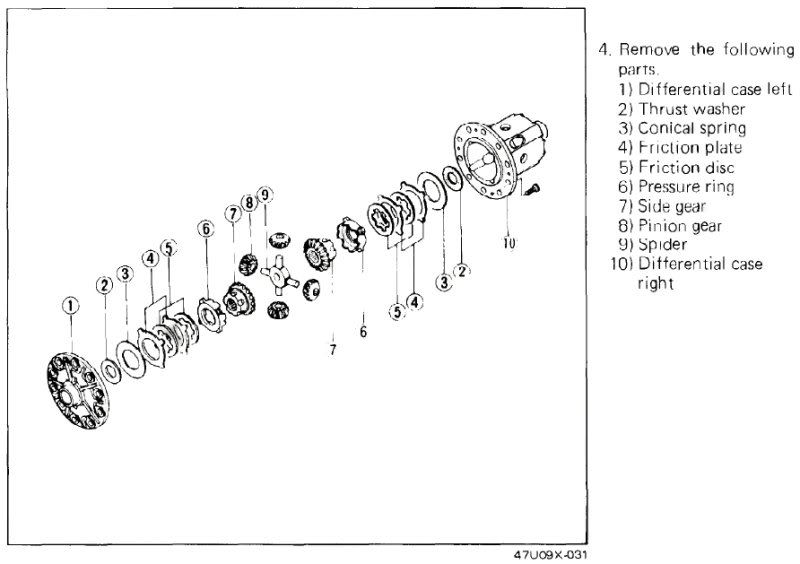
Here are two good parts fiches to give you an idea of what parts are in here and what they are called.
Required Tools:
12mm Socket
14mm Socket
Hammer
Dial Indicator (Harbor Freight or similar ones will work fine)
Magnetic Base for the Dial Indicator (again, Harbor Freight works)
Torque Wrench
Helps to have air or electric impact
Tool to rotate be bearing adjustment screws
Right Stuff (for sealing diff into housing)
Required Parts:
GSL or GSLSE 3rd member, 1984 - 1985 models for its LSD or have another LSD available.
Kia Sportage 3rd member 94, 96-01 model years
Step 1: Obtaining and disassembling your Kia Sportage Axle
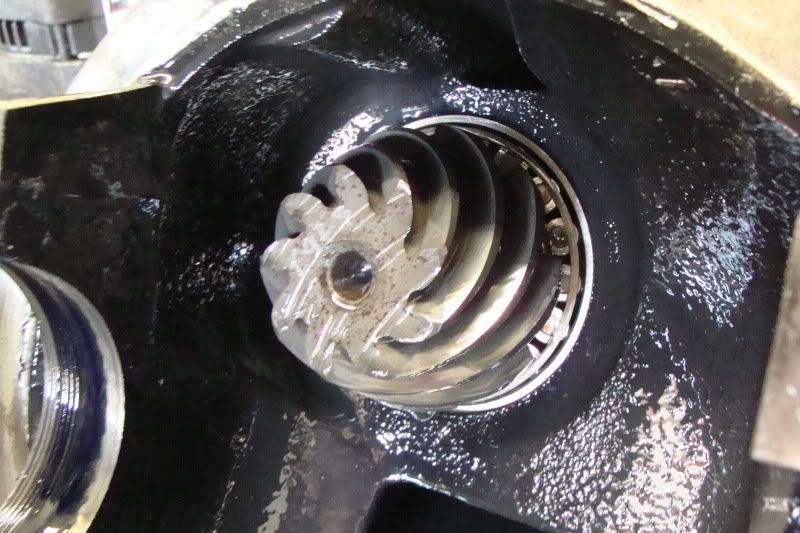
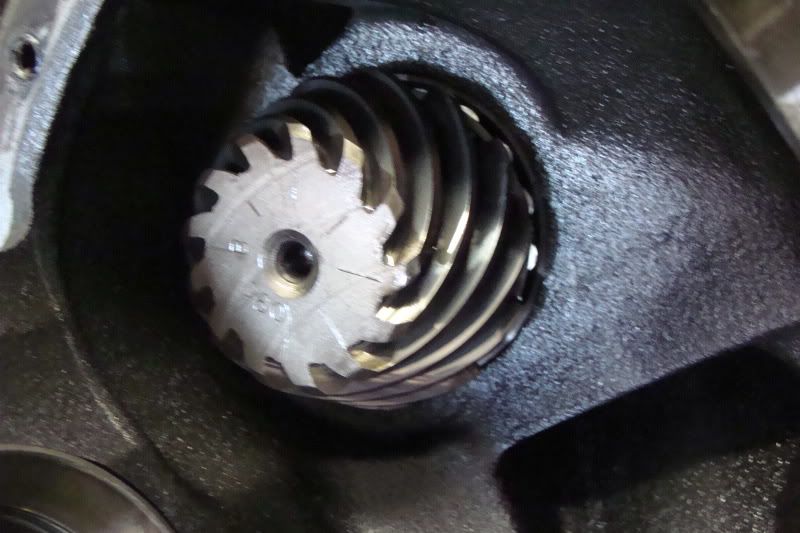
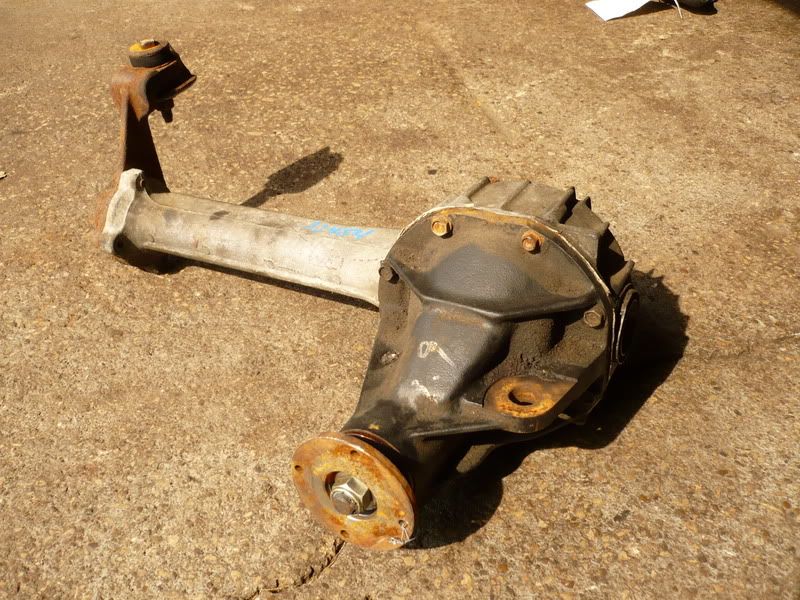
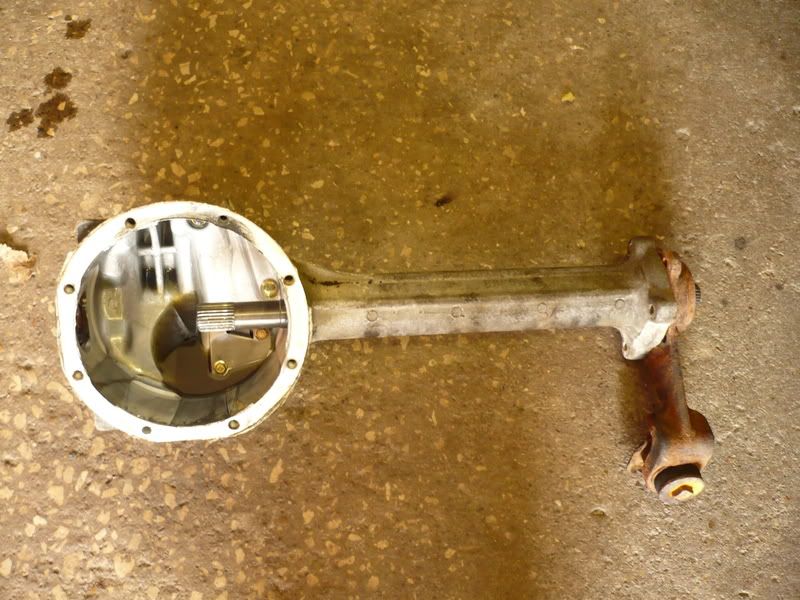
The absolute first thing you need to find is a Kia Sportage third member from the front differential. They are a common vehicle, so if your lucky a local yard should have one. Typically, they will just pull the entire front axle. Its not a large piece, but still nothing you want to stuff on your motorcycle to get home. Just make sure you dump the diff fluid out. Its should consist of an aluminum axle housing and a cast iron third member. See Picture below:
Once you get your Kia axle home you can start to remove the 3rd member. I recommend laying out some cardboard or plastic to catch any diff fluid that will come out. First, remove the 4 bolts holding the long side axle in. Use your hammer and give the axle some taps until it breaks free. Then slide the axle out. Add it to the scrap pile or sell it or place it on your coffee table as a conversation piece. They choice is yours, but from here on out, you don't need it.
From here you can start removing the 3rd member from the aluminum housing. Two of the bolts holding the 3rd member in are 12mm. Rest are 14mm. Save all of these bolts as you will reuse them later.
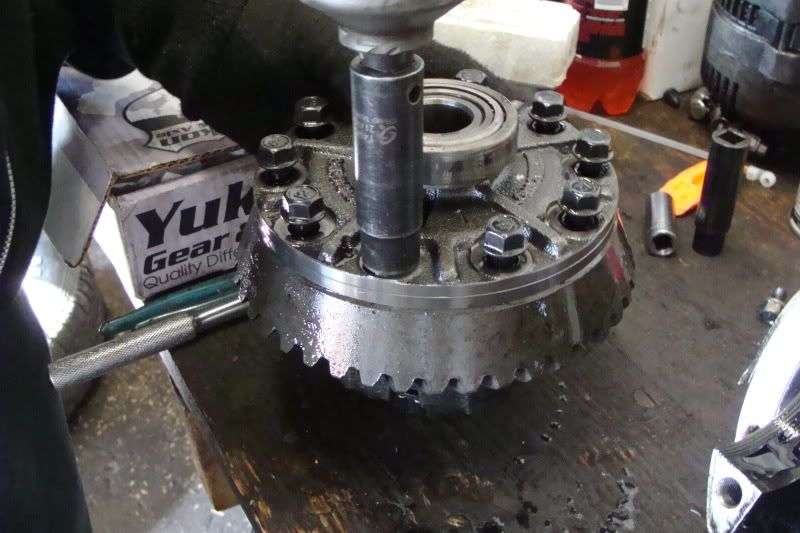
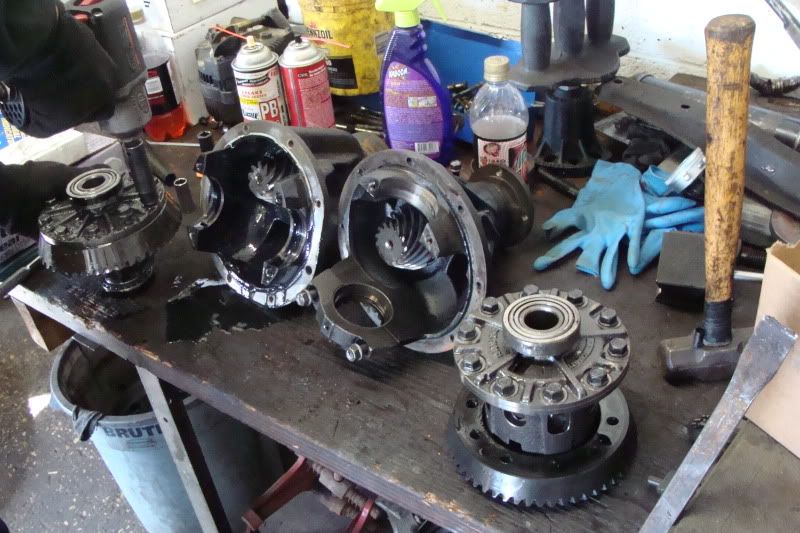
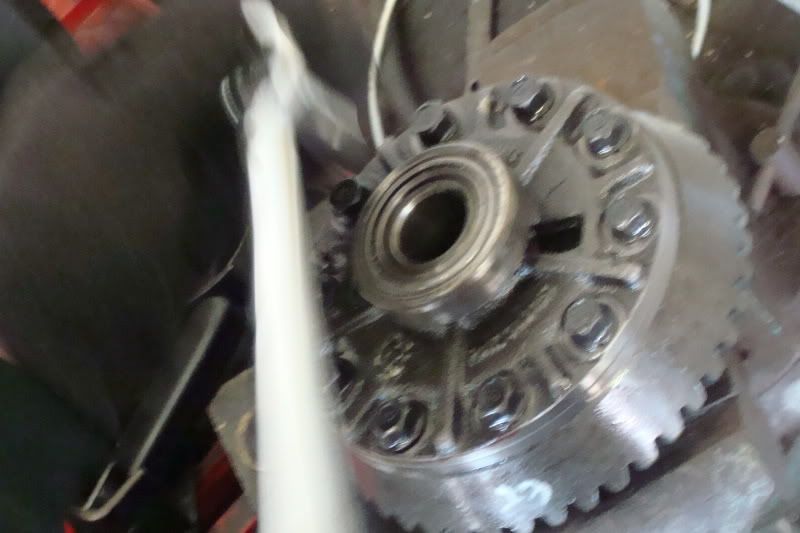
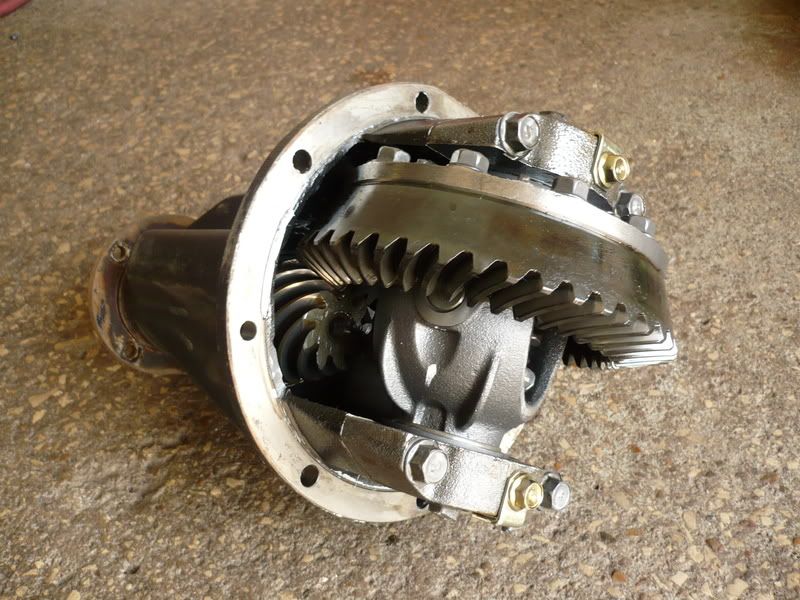
Will the bolts removed, again use the hammer to break the 3rd member free. Once free, lift the piece out of the housing. You should now have an empty axle housings and a 3rd member. See pictures below.
Here are two good parts fiches to give you an idea of what parts are in here and what they are called.
Required Tools:
12mm Socket
14mm Socket
Hammer
Dial Indicator (Harbor Freight or similar ones will work fine)
Magnetic Base for the Dial Indicator (again, Harbor Freight works)
Torque Wrench
Helps to have air or electric impact
Tool to rotate be bearing adjustment screws
Right Stuff (for sealing diff into housing)
Required Parts:
GSL or GSLSE 3rd member, 1984 - 1985 models for its LSD or have another LSD available.
Kia Sportage 3rd member 94, 96-01 model years
Step 1: Obtaining and disassembling your Kia Sportage Axle
The absolute first thing you need to find is a Kia Sportage third member from the front differential. They are a common vehicle, so if your lucky a local yard should have one. Typically, they will just pull the entire front axle. Its not a large piece, but still nothing you want to stuff on your motorcycle to get home. Just make sure you dump the diff fluid out. Its should consist of an aluminum axle housing and a cast iron third member. See Picture below:
Once you get your Kia axle home you can start to remove the 3rd member. I recommend laying out some cardboard or plastic to catch any diff fluid that will come out. First, remove the 4 bolts holding the long side axle in. Use your hammer and give the axle some taps until it breaks free. Then slide the axle out. Add it to the scrap pile or sell it or place it on your coffee table as a conversation piece. They choice is yours, but from here on out, you don't need it.
From here you can start removing the 3rd member from the aluminum housing. Two of the bolts holding the 3rd member in are 12mm. Rest are 14mm. Save all of these bolts as you will reuse them later.
Will the bolts removed, again use the hammer to break the 3rd member free. Once free, lift the piece out of the housing. You should now have an empty axle housings and a 3rd member. See pictures below.