Build thread
-
chickenwafer
- Posts: 2515
- Joined: Wed Mar 11, 2009 9:14
- Location: Greeley
-
speedjunkie

- Senior Member
- Posts: 5359
- Joined: Wed Jan 02, 2008 9:14
- Location: Colorado Springs
- Contact:
Well I might just get those housings then. As of yet I don't have any leads on any. I texted Rich tonight and asked him if he had any good housings this time lol. He said they did have some and wanted to see more pics of the bad parts. He also wanted pics of the rotors, but I'm not sure why. I never said anything about them. He said he and Ihor would look at all the pics tomorrow. All I'd really like them to do is give me some good housings since they put bad housings in this engine, but even then I'm not sure I can trust them to supply me with good housings. If they screwed me over the first time, how could I trust them again? I'm just waiting for him to say the bad housings are from tuning or some other issue on my end. I'll tell him to eat his own dick. But that's exactly the kind of cop out I'd expect at this point. He knows damn well those housings were shitty when he built it.
Oh btw, here are pics of the housings, plates, and corner seal...


Oh btw, here are pics of the housings, plates, and corner seal...

-
speedjunkie
- Senior Member
- Posts: 5359
- Joined: Wed Jan 02, 2008 9:14
- Location: Colorado Springs
- Contact:
I did a couple things tonight. I cut off the coolant nipple, drilled it out and tapped the hole, but it's such a shitty job haha. The threads are so jacked up, and I also drilled into one of my water temp sensors because I was too lazy to take it out first, and even though it's probably still good I'm gonna replace it anyway. I don't want to take any chances. I got the 1/4 NPT plugs from Jegs (two-pack) but the first one left some threads in there when I took it back out once, so I retapped and I think I'm gonna go back to Ace tomorrow and see if I can find a steel plug to fit it. I was just there today for some o-rings for the injector adapters (found the exact ones I think).


I also resealed these plugs with red thread locker this time. The larger one was seeping coolant and even the smaller one was but not near as much, barely anything actually. Chip used thread locker on the plugs in the plates so I figured I'd try it.

I think I also changed my mind a bit on the power steering cooler mounting location. I think I might use one of the brackets for the stock line, and see if I can get another one to use. Something like this...
It won't get as much cool air flow as where I was going to put it, but I think I'll like it a lot better in this location, and the mounting would be cleaner and more solid.
So I'm looking for another one of these brackets...
I also resealed these plugs with red thread locker this time. The larger one was seeping coolant and even the smaller one was but not near as much, barely anything actually. Chip used thread locker on the plugs in the plates so I figured I'd try it.
I think I also changed my mind a bit on the power steering cooler mounting location. I think I might use one of the brackets for the stock line, and see if I can get another one to use. Something like this...
It won't get as much cool air flow as where I was going to put it, but I think I'll like it a lot better in this location, and the mounting would be cleaner and more solid.
So I'm looking for another one of these brackets...
-
chickenwafer
- Posts: 2515
- Joined: Wed Mar 11, 2009 9:14
- Location: Greeley
Those housings and irons are jacked up! It's hard to tell but I think the irons could be salvaged, yes? If they're lapped they might turn out. How deep is the coolant jacket rings? And is the coolant jacket on the irons as bad as the housings? Of course you may not even want to keep them because the port may be suspect.
I'd like to compare that port to my Pineapple medium street port template...because its a RACE PORT!!! Lol
I can't wait for Rich to claim it was something else and the housing were in perfect condition when he built the motor lol. They is no way tuning can corrode out a coolant jacket! He'll probably tell you used the wrong coolant, never mind you probably used the same coolant mixtures you always have. Haha indefensible.

-
speedjunkie
- Senior Member
- Posts: 5359
- Joined: Wed Jan 02, 2008 9:14
- Location: Colorado Springs
- Contact:
That would be great, Frank! I didn't even think about you not needing that bracket anymore lol.
I'm not sure if the irons can be salvaged. The grooves are pretty deep. I'll have to measure the coolant jacket rings. You're right though, I wouldn't even want them because of the ports. Actually the ports on these are also shitty compared to the new ones.
Are you joking about this being a professionally-built, race spec'd engine? Because it is! lol Actually, I'm not sure but if race spec'd means the side seals are so tight they rub grooves in the corner seals, then it's definitely race spec'd. LOL
Yeah I'm pretty sure he'll try to claim some BS like that. I've used 50/50 on this engine and nothing else, not even any other ratio. But it will be some indefensible BS for sure.
I think I'm gonna get those housings with the rectangular port. He told me to make an offer because he's tired of having them around and they make him miss his FD lol.

-
speedjunkie
- Senior Member
- Posts: 5359
- Joined: Wed Jan 02, 2008 9:14
- Location: Colorado Springs
- Contact:
-
speedjunkie
- Senior Member
- Posts: 5359
- Joined: Wed Jan 02, 2008 9:14
- Location: Colorado Springs
- Contact:
-
speedjunkie
- Senior Member
- Posts: 5359
- Joined: Wed Jan 02, 2008 9:14
- Location: Colorado Springs
- Contact:
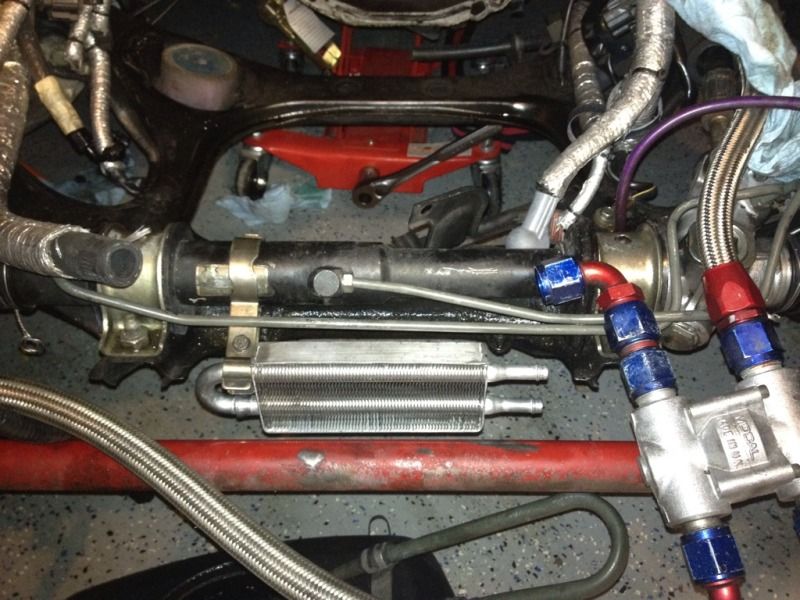
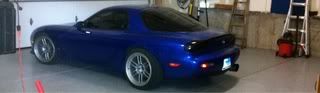
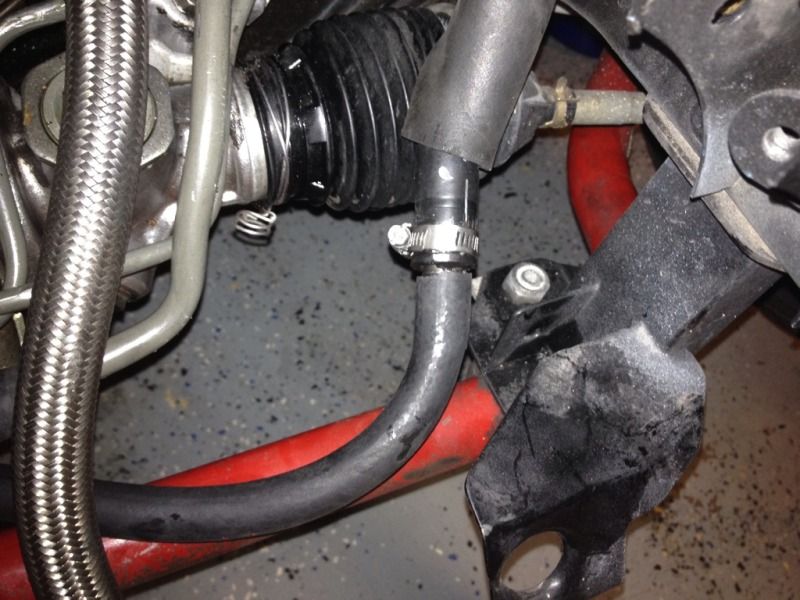
I took care off a little project tonight while I'm waiting on parts. I figured out another way I could mount the power steering cooler. I used another bracket off the stock line, flattened it, cut off the extra length and drilled a new hole. Then it was just a PITA mounting everything. Actually it started when I tried to take the bolt out of the hole I wanted to use (it had a welded-on nut behind it) and the bolt stripped and wouldn't come out. I ended up cutting off the head and using a punch to get it out, but it ripped off the nut, so I had to use another one anyway. No biggie. All I have to do now is get hose clamps that fit so I can tighten them down, but all the connections are pretty tight already.
Here you can kinda see that bracket...
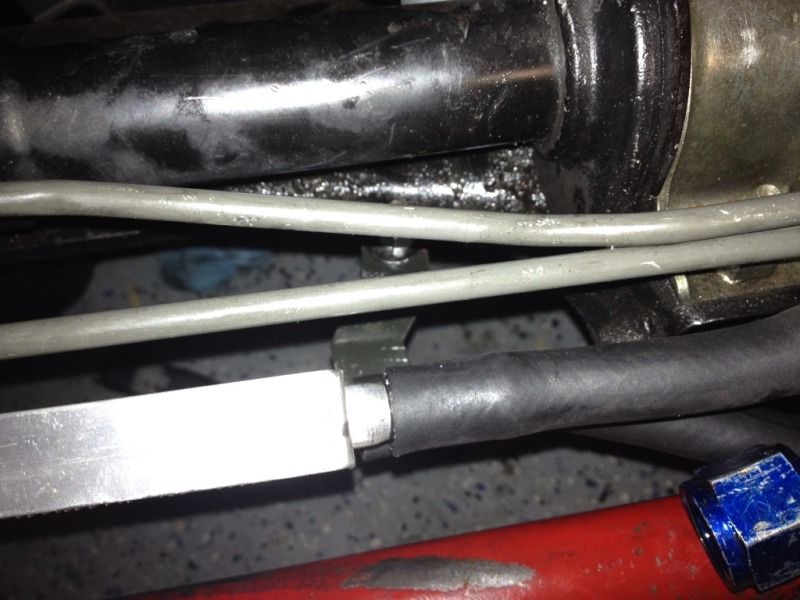
I dropped it when I was trying to mount it and it dented the end, ARGH! But maybe it helps since it's so close to another part of the subframe haha.
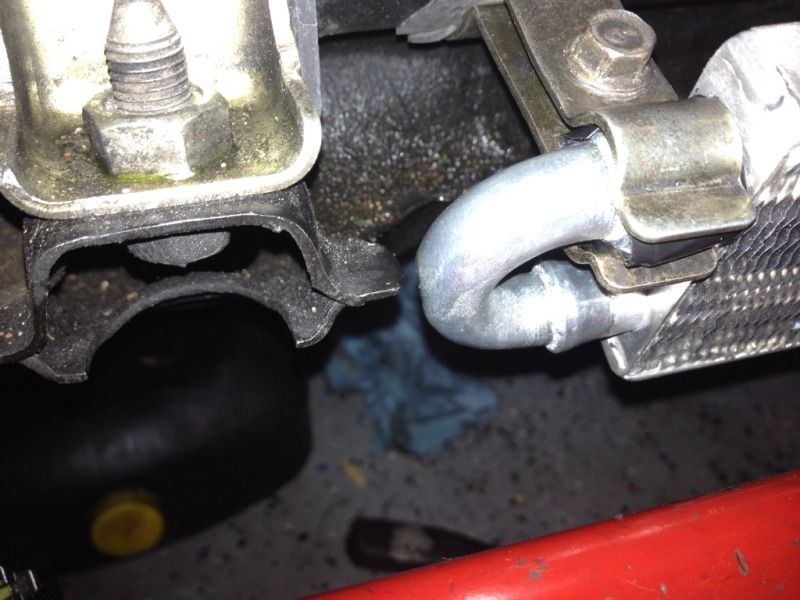
I had to cut the line from the steering rack to get it to work...
And here I used a reducer coupler...
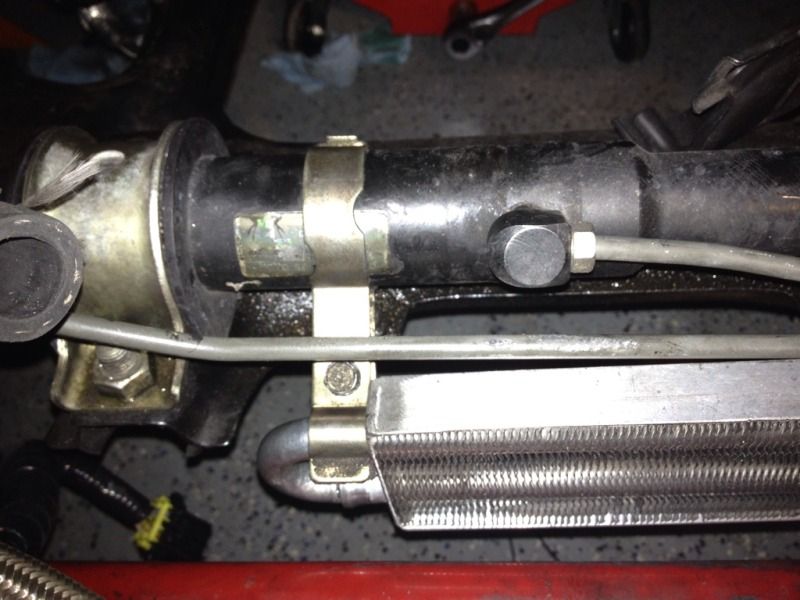
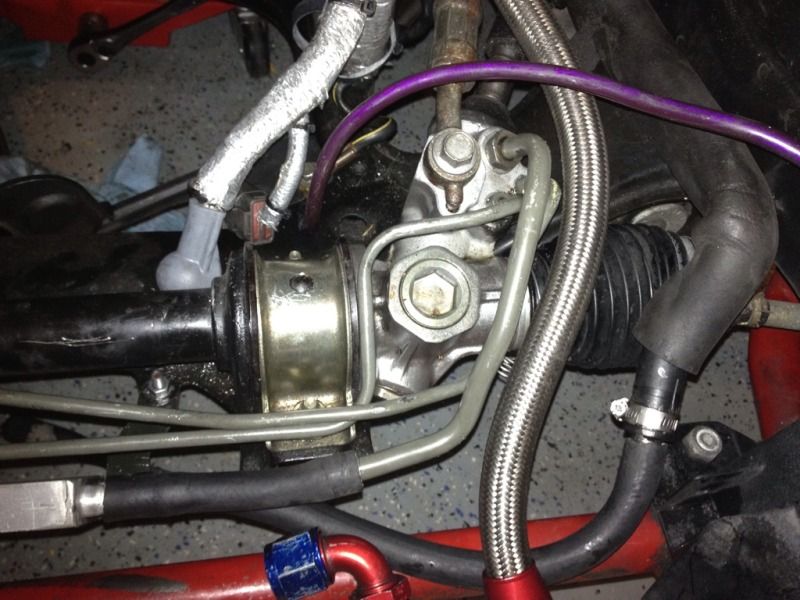
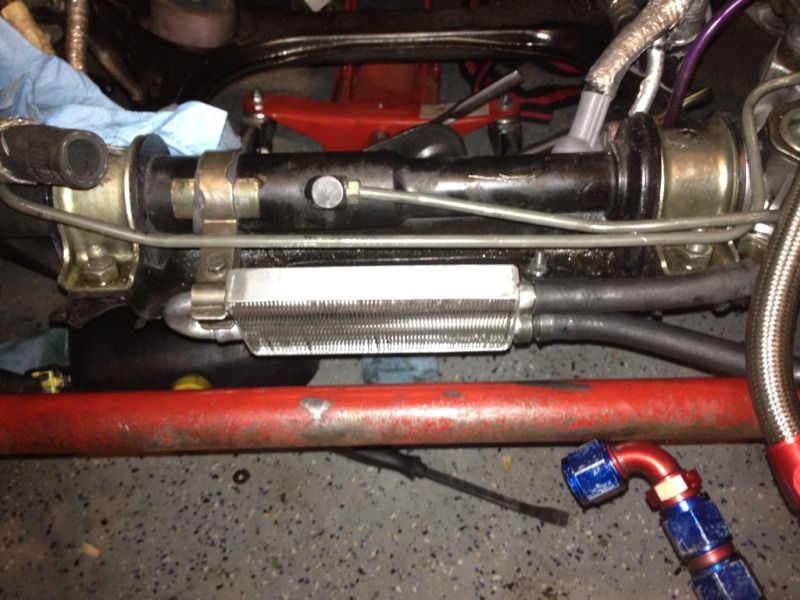
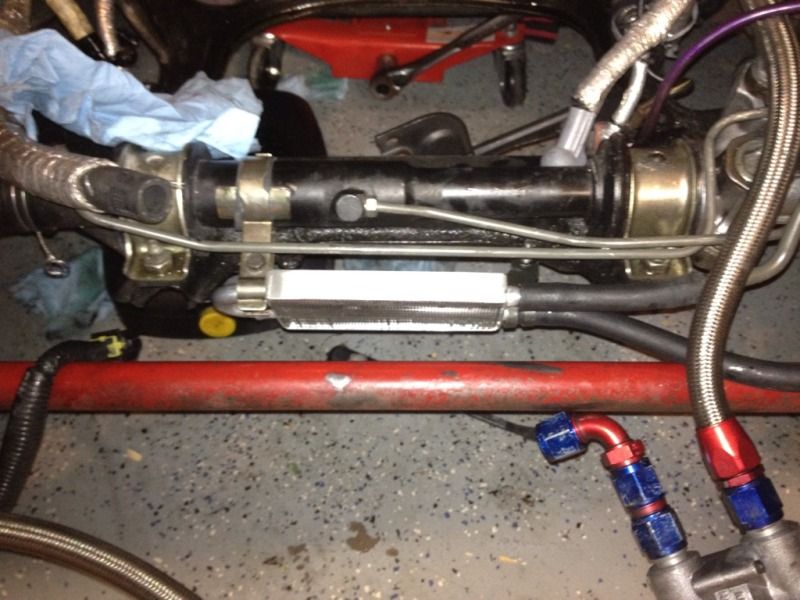
And this is what it looks like overall...
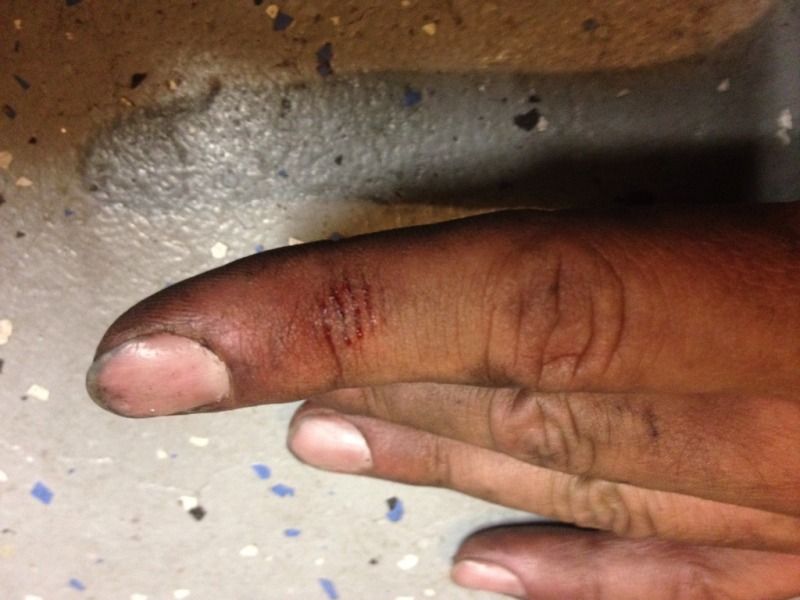
And this is proof that the little fins are sharp...
Here you can kinda see that bracket...
I dropped it when I was trying to mount it and it dented the end, ARGH! But maybe it helps since it's so close to another part of the subframe haha.
I had to cut the line from the steering rack to get it to work...
And here I used a reducer coupler...
And this is what it looks like overall...
And this is proof that the little fins are sharp...
-
speedjunkie
- Senior Member
- Posts: 5359
- Joined: Wed Jan 02, 2008 9:14
- Location: Colorado Springs
- Contact:
Wow it's been a bit again since I updated this.
Eduardo and some others came over Friday night and we built the engine. Ran into some issues with one of the tension bolts not wanting to thread into the front iron, and I didn't really feel like pulling the whole engine back apart. I got it to thread in but I'm not sure how well. I didn't like the idea of it possibly backing out under running conditions/heat, etc, and hitting the flywheel while I was driving, but it torqued down and so did the nut we used on it to secure the engine together. I was still leery about it the way it was, so I was going to JB Weld the nut to the engine itself, but Zico gave me the idea of cutting a piece of metal and drilling three holes and bolting that to the problem stud and the two good studs on either side. I did that and put red loctite on those nuts before securing them. I think it'll be fine now. It's still kinda ghetto, but much better than JB Weld lol.
Saturday Eduardo and the guys came back over and we dressed the engine and got it ready to drop in. I quit for the day after they left so it was somewhat of an early night. My back was still hurting from Friday night anyway.
Sunday I re-wrapped the engine wiring harness in reflective tape that wasn't quite as bulky as the stuff I had on there, that way the harness would be more flexible. Then I washed the subframe and some of the exterior engine accessories. Zico and I dropped the engine into the bay in about 5 minutes, if that. We're getting pretty good at this and pulling them, but that's actually kind of a bad thing when you think about the reason we're getting good at it lol. I should say now that I bought an ORC twin plate clutch from our other roommate Simon, the one that Zico was going to buy. After we dropped the engine in, the throwout bearing wouldn't snap into the pressure plate on the clutch, so I had to pull the tranny and check it out.
I connected the engine harness and almost everything else in the engine bay and started pulling the tranny Monday night, and I got pretty far but needed a couple tools, so I bought what I needed last night and got the tranny out (it came out really easy too) and discovered the ring that holds onto the throwout bearing was a little messed up. When you pushed in the bearing it would just push that ring further into the clutch instead of going around the bearing. So I took the one off my ACT clutch which is a bit different design, and I removed the pressure plate and throwout bearing and mated them all up outside to make sure it would work. Looks like it's going to work so I put all of it back together, reinstalled the tranny and snapped the bearing into the clutch. WOOHOO!! I pried on it and it was holding, but I still have to try the clutch pedal. It should be fine though. Then I reinstalled everything under the car, and on lunch today I reinstalled the UIM. Now I just have to install the intake elbow, EGT sensor wires, and shifter and I can start the car and make sure the clutch will work. I'm also going to check for leaks while it's running because I've changed a few things where fluids are concerned.
Then I'll pull the driver's front fender to straigten out the bent portion where it meets the front bumper. After that I'll put all the exterior stuff back on and drop the car, and possibly take it for a spin.
-
speedjunkie
- Senior Member
- Posts: 5359
- Joined: Wed Jan 02, 2008 9:14
- Location: Colorado Springs
- Contact:
I forgot to mention, I also have some other stuff to install and fix. I have hood pins to install, a new door pull cup for the driver's side door panel (I'll probably wait on that one), I need to fix the map pocket lid on the driver's side door panel, drill holes in the hood for the windshield washer nozzles, speed bleeders for the brakes (I might try to do that this week) and I have an EGT sensor datalogger piece that I'd like to install but I'm not sure how yet. I want to start logging my EGT temps and wideband readings for when we tune.

-
speedjunkie
- Senior Member
- Posts: 5359
- Joined: Wed Jan 02, 2008 9:14
- Location: Colorado Springs
- Contact:
-
chickenwafer
- Posts: 2515
- Joined: Wed Mar 11, 2009 9:14
- Location: Greeley
Who is online
Users browsing this forum: No registered users and 139 guests