Build thread
-
RX-7 Chris
- Posts: 7800
- Joined: Tue Oct 02, 2007 9:14
- Location: Colorado Springs
- Contact:
you should be able to get that down to 1k.
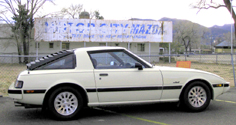
1984 RX-7 GSL-SE [size=84]My restomod project[/SIZE]
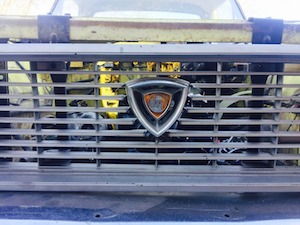
1964 Ford Galaxie 500XL flat black w/ white interior, 2 dr fastback, 390 thunderbird, C6 auto, 2500 rpm high stall converter, shift kit, AC, Holley 750 cfm
[size=100]RIP 1983 RX-7[/SIZE]
My Car Blog
-
chickenwafer
- Posts: 2515
- Joined: Wed Mar 11, 2009 9:14
- Location: Greeley

-
speedjunkie

- Senior Member
- Posts: 5359
- Joined: Wed Jan 02, 2008 9:14
- Location: Colorado Springs
- Contact:
-
chickenwafer
- Posts: 2515
- Joined: Wed Mar 11, 2009 9:14
- Location: Greeley
-
speedjunkie
- Senior Member
- Posts: 5359
- Joined: Wed Jan 02, 2008 9:14
- Location: Colorado Springs
- Contact:
-
speedjunkie
- Senior Member
- Posts: 5359
- Joined: Wed Jan 02, 2008 9:14
- Location: Colorado Springs
- Contact:
So after seeing Dan's (yoojeankim) hatch area with the nice mat and seeing his floor mats, I decided to clean up my hatch area and get new floor mats too. Although now I'll want to get new carpet as well lol. Anyway, I'm always embarrased when I open the hatch and I want it to look good. My plastics are kinda scratched up, but maybe I'll replace them someday or just wrap them in suede or something.
Anyway, in order to do this, I need to remove any tools back there, relocate my battery again and get a smaller water tank for the water injection that I can mount somewhere else. I decided to use my old washer tank that way I can hide it in it's stock location behind the plastics.
On Saturday (before going up the mountain for PPIHC, real smart) I started working on the water injection stuff. Well, first I had to relocate my Boost-a-pump so I could mount the tank back in there. I relocated that but now it's in the way of the vent on the plastic (I'll post pics of this stuff later).
Once I got the BAP out of the way, I started on the water tank. I decided to put the fitting in the location of the pump for the sprayer, so I started drilling the hole. When I was drilling, the bit and gun got away from me and it hit the other side of the tank, putting a crack in it. I patched it up with RTV and let it sit until we got home Sunday night. Then I covered it with RTV. I couldn't get the fitting to seal in that hole, so I put the pump back on to seal the hole. Then I drilled a hole further down in the tank, which is better anyway IMO. The biggest drill bit I have in a kit is 1/2", and I have a couple that are 9/16" that are individual bits. I used the 9/16" and it was too big I guess because then I couldn't get that one to seal either. I thought maybe a hot glue gun would seal the threads...nope. So I took the tank out of Simon's car so I could start over lol. I drilled the hole in the same place on his tank, but this time I used a small file to get the hole just big enough so the fitting would be snug and put thread grooves in the plastic to seal around the fitting. Well it STILL leaked, so I put hylomar on the threads that would turn in first, then I put black RTV on the end of the threads so it would seal when the fitting was deep enough. I let it dry last night and I'll try it tonight when I get home.
The other night I ordered a Braille B2015 battery, the mounting bracket and a Battery Tender Jr, all the same stuff Dave uses on his. I'm going to order the mats soon too I think, so maybe this project will come to a close sooner than I'd originally thought.
I'm also going up to Loveland on Sunday so Dave can tune the car for me.


Nice Junkie. I actually like seeing clean interiors in cars more than most anything else. You can make a huge difference in the look and feel of a car by doing the little interior things.
I'll be very interested to hear about your experience with the Braille battery. I have a small battery now for the S, but an even smaller/lighter one would be nice, if nothing else, but to open up the engine compartment even more.
I'll be very interested to hear about your experience with the Braille battery. I have a small battery now for the S, but an even smaller/lighter one would be nice, if nothing else, but to open up the engine compartment even more.
-
speedjunkie
- Senior Member
- Posts: 5359
- Joined: Wed Jan 02, 2008 9:14
- Location: Colorado Springs
- Contact:
Yeah I want to be able to open every door or hatch and be able to show the whole thing.
You can ask Dave, he already has this battery.
Here are the pics for my last post.
This is the Boost-a-pump mounted in it's new location...

Here you can see the lip on the back of the vent and how it won't work...


This is where the stock tank is mounted...

Here is where I patched up the hole in the tank...

And here is the hole I drilled, and under that is how the hole looks to begin with...


This is the motor on the tank, and next to it you can see the hole I drilled on my original tank...

Here is Simon's tank/my new tank, and this setup doesn't leak, so it's the winnar!!!!

Here is the hot glue gun I tried to use. The hot glue didn't work for me, obviously lol.

Here is the tank mounted and the line shortened...

Here I'm testing for leaks with how it will be mounted...

Here is with the plastic cover reinstalled...

And I trimmed the extra plastic off the back of the vent, fits great!

And this is my hanging piston lol...

You can ask Dave, he already has this battery.
Here are the pics for my last post.
This is the Boost-a-pump mounted in it's new location...
Here you can see the lip on the back of the vent and how it won't work...
This is where the stock tank is mounted...
Here is where I patched up the hole in the tank...
And here is the hole I drilled, and under that is how the hole looks to begin with...
This is the motor on the tank, and next to it you can see the hole I drilled on my original tank...
Here is Simon's tank/my new tank, and this setup doesn't leak, so it's the winnar!!!!
Here is the hot glue gun I tried to use. The hot glue didn't work for me, obviously lol.
Here is the tank mounted and the line shortened...
Here I'm testing for leaks with how it will be mounted...
Here is with the plastic cover reinstalled...
And I trimmed the extra plastic off the back of the vent, fits great!
And this is my hanging piston lol...
-
chickenwafer
- Posts: 2515
- Joined: Wed Mar 11, 2009 9:14
- Location: Greeley

-
speedjunkie
- Senior Member
- Posts: 5359
- Joined: Wed Jan 02, 2008 9:14
- Location: Colorado Springs
- Contact:
-
speedjunkie
- Senior Member
- Posts: 5359
- Joined: Wed Jan 02, 2008 9:14
- Location: Colorado Springs
- Contact:
Oh yeah, these came back tonight...
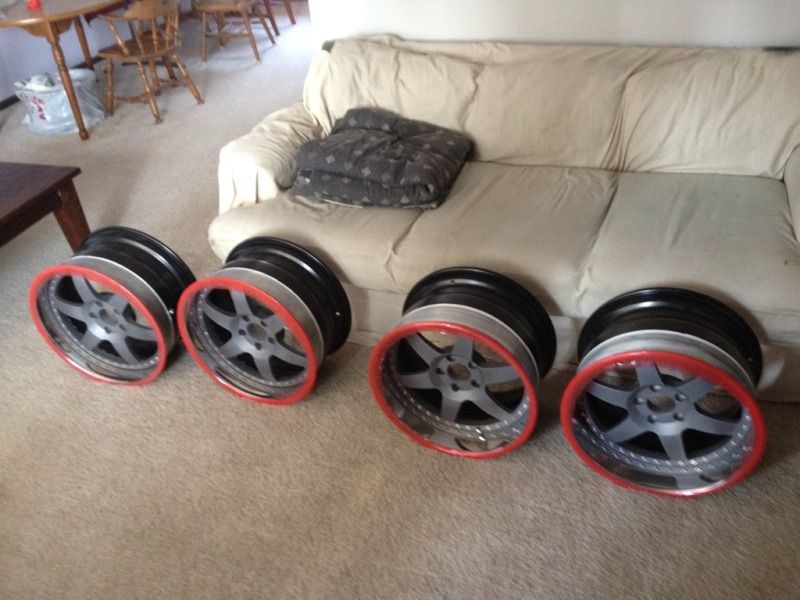
I think they look much better this time around, but I'm still not crazy about the faces being convex. However, they said in 6-8 months they will be able to make the faces exactly how I want, a little concave.
This came in tonight as well. Now I'm just waiting on the battery and bracket.

I think they look much better this time around, but I'm still not crazy about the faces being convex. However, they said in 6-8 months they will be able to make the faces exactly how I want, a little concave.
This came in tonight as well. Now I'm just waiting on the battery and bracket.
-
chickenwafer
- Posts: 2515
- Joined: Wed Mar 11, 2009 9:14
- Location: Greeley
-
yoojeankim

- Posts: 114
- Joined: Wed May 11, 2011 9:14
- Location: lakewood
- Contact:


Who is online
Users browsing this forum: No registered users and 141 guests